The ideas here run from a free digital layout tool to round-table grids and curved banquet tables, and from a ceremony that turns into the reception in the same room to a symmetrical hall plan with zones for dining, dancing and socializing.
Your venue’s shape and whether guests will sit through dinner or mingle decide the layout, because those 2 facts set where the dance floor, head table and aisles can go.
Whichever you choose, put the sketch on paper before the rental order, and aim for a version at least 95 percent finished 2 weeks out.
1. Cake Table Lighting
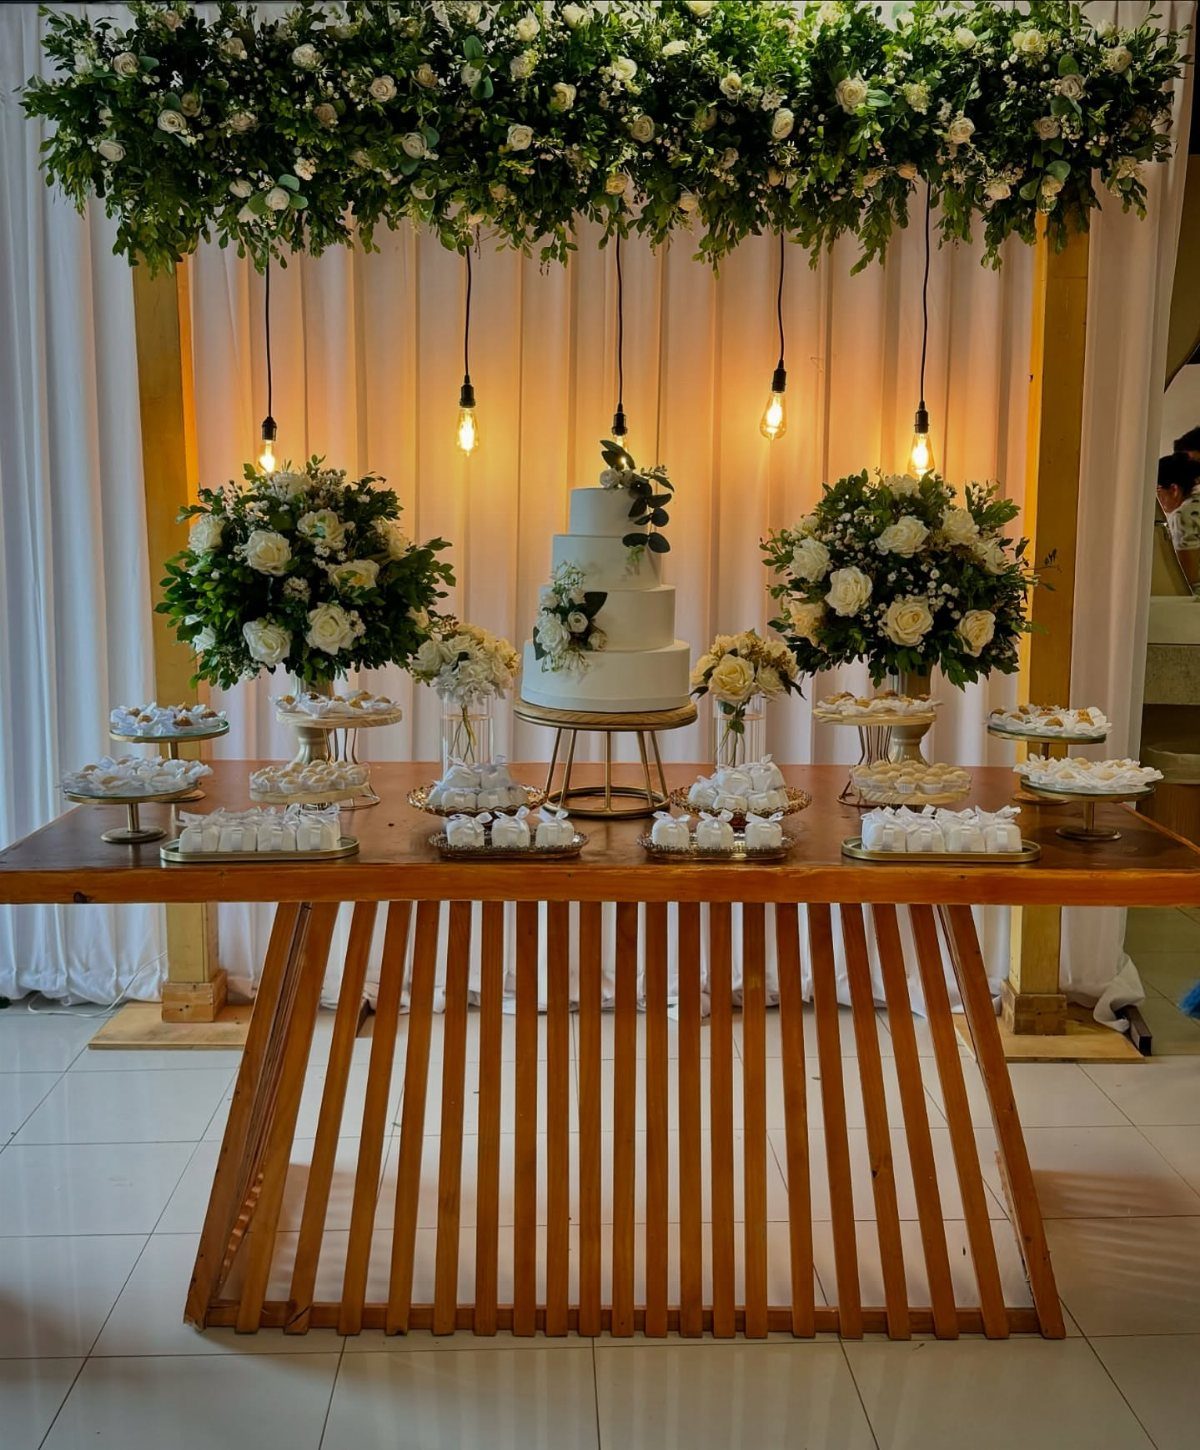
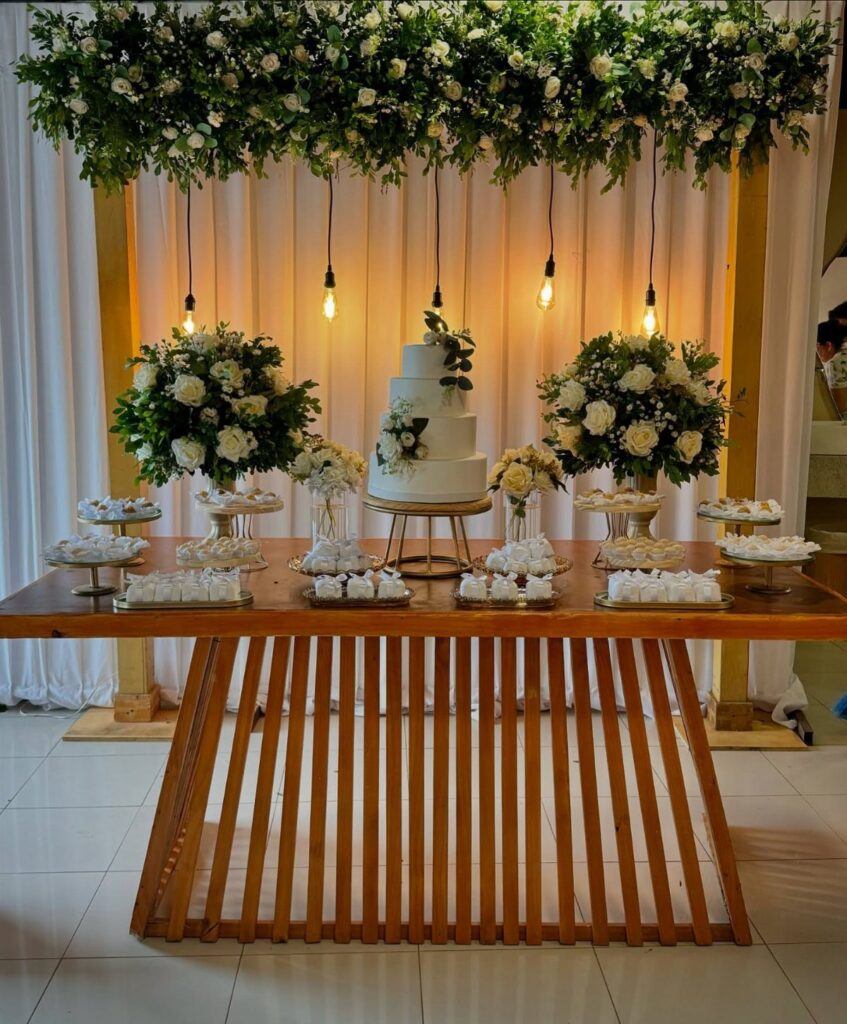
Warm hanging bulbs over a cake table do 2 jobs: they make the cake the brightest spot in the room, and they keep it glowing in photos without a flash.
A white three-tier cake against a white curtain backdrop needs that pool of light, or it blends into the wall.
I would hang the bulbs at different heights above the table so the light feels layered, not like a straight row. Keep them warm, not cool white, so the frosting stays creamy.
2. Chairs at Tables for Wedding Reception
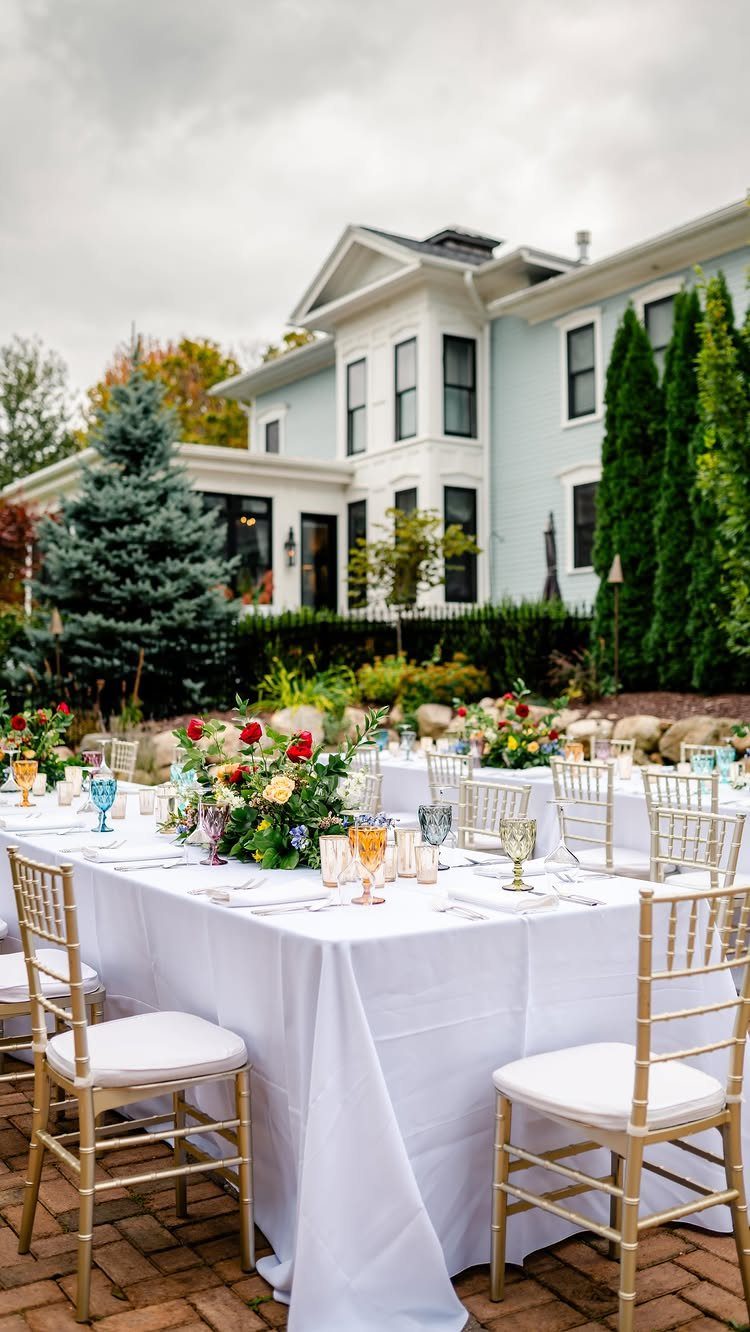
Seating style comes first, before any chair count: are guests sitting at tables for the whole reception, or milling around cocktail-style? Count yourself and your partner in the headcount, and in any seats at a long table too.
Long tables like these put more people in conversation range than rounds do.
At a round table, you realistically talk to the 1–2 people next to you. I lean toward long tables for a mixed crowd.
Cushioned chairs are worth the small rental upcharge if dinner runs long, and gold Chiavari chairs with white cushions give you comfort and a little shine in one rental.
3. Aisle and Altar Placement
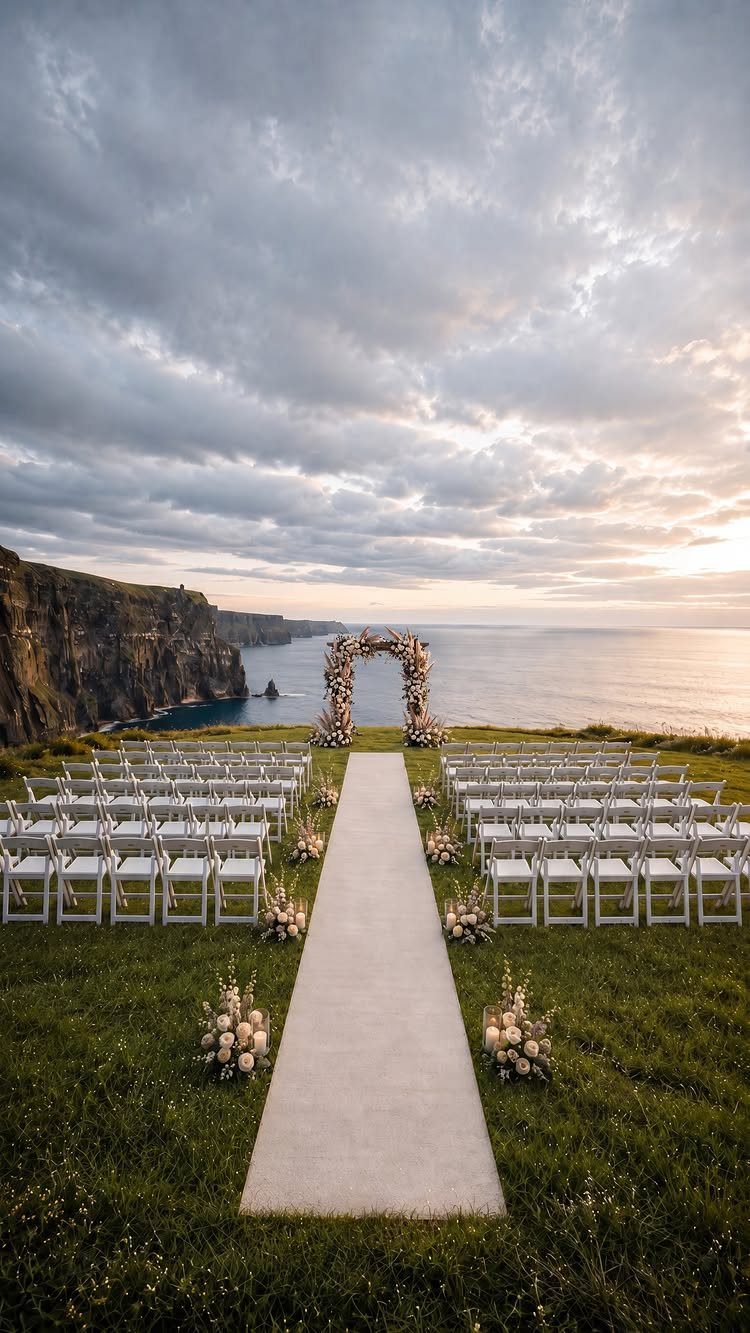
Every guest should see the couple at the altar, so check sightlines before you lock in the chair rows. A cliffside setup like this one works because the aisle runs straight to the arch and nothing sits in the way.
Stand at the back row and the far side seats before the day. If a pillar, tree, or floral stand blocks your view of the arch, move the chairs or the stand.
A runner also marks the aisle clearly, so guests know where not to step.
4. Dance Floor Location
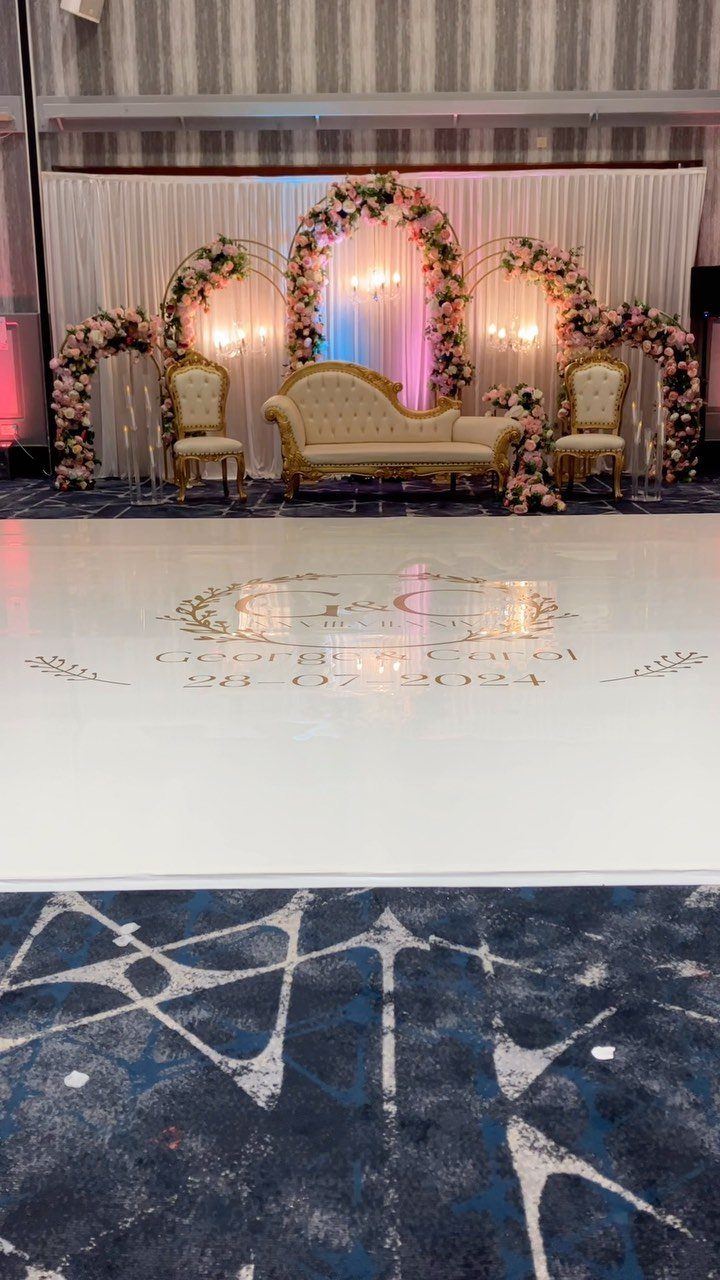
Put the dance floor near the center of the room, because people join in when they can see the fun from their seats. Tucked in a corner, it stays empty.
A floor with a printed monogram or date, like this glossy white one, doubles as decor and costs more than a plain rental. If budget is tight, I would skip the print and spend on the floral backdrop behind it.
Leave a few seats close by for guests who want to watch, not dance.
5. Centerpieces for Wedding Tables
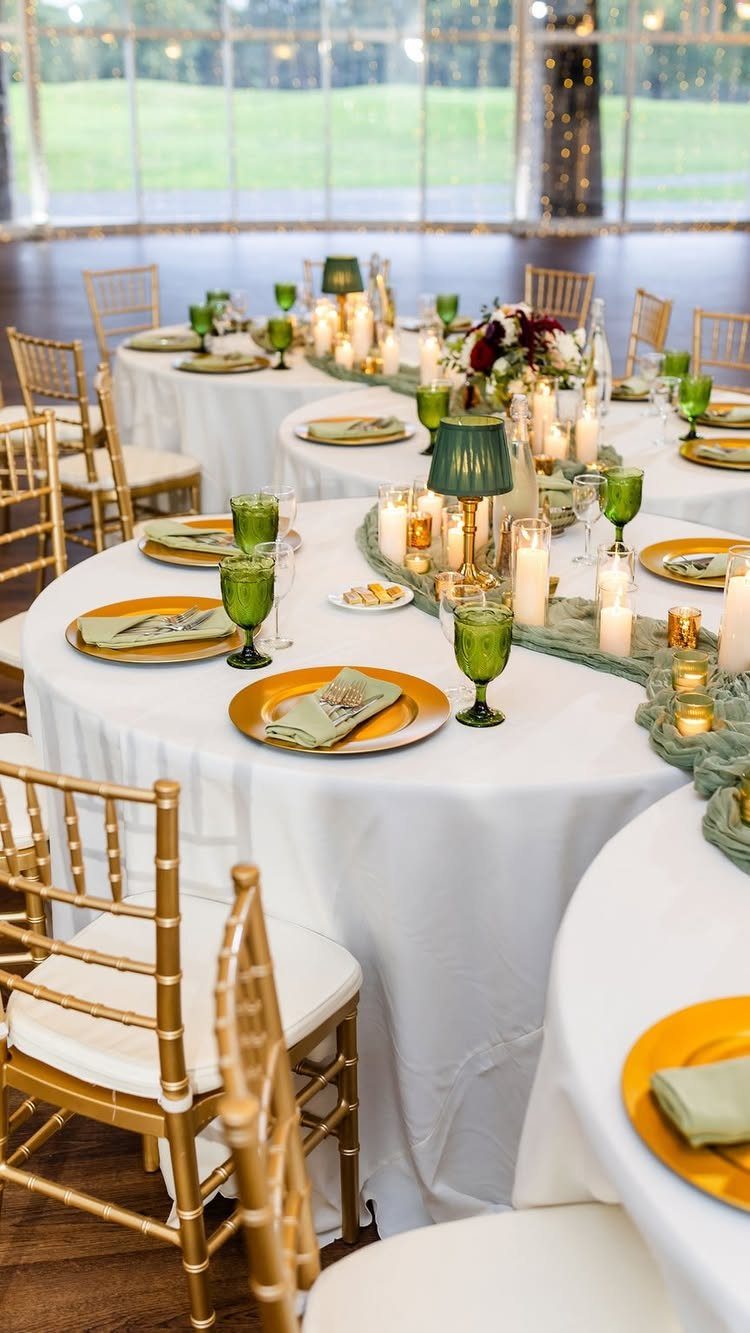
Centerpieces earn their place by matching the table, not by being the biggest thing on it.
A centerpiece reads as part of the table when it repeats a color already there, so pick one or two shades from your glassware, chairs, or linens and carry them through the lamps, candles, and runner.
Keep the height low enough to talk across, or tall enough to sit well above eye level. Anything in between blocks faces.
Sizing matters with layout, too.
6. Arrange Wedding Tables
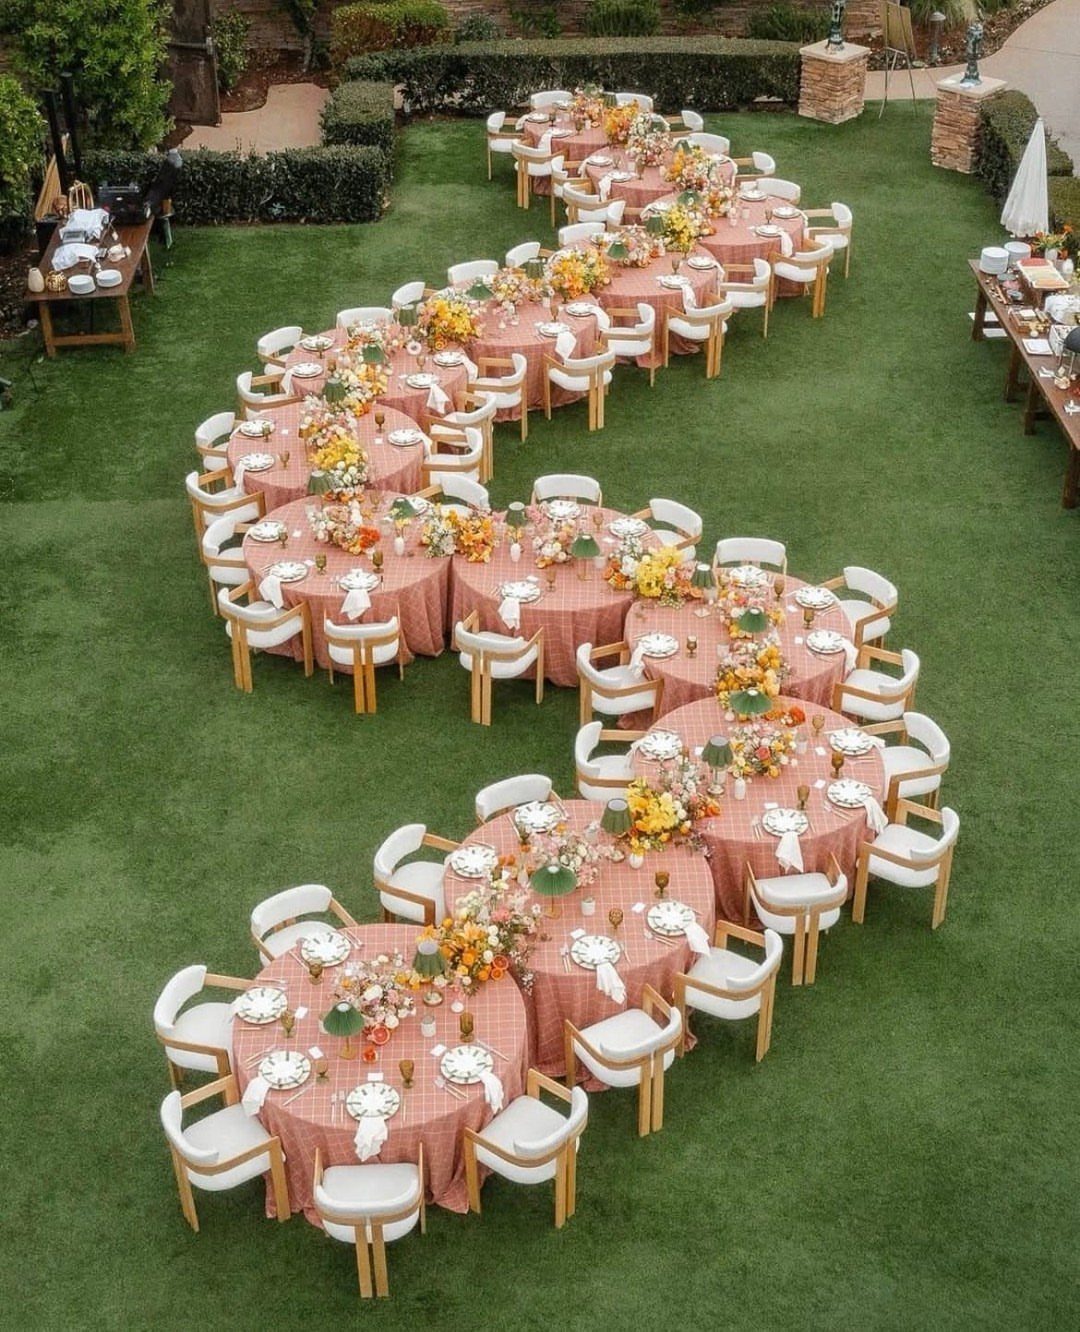
Once the big pieces are placed (dance floor, head table, bar) and guests are sorted into groups, you can start moving tables around. A winding pattern like this one breaks up a flat lawn and avoids the rigid grid look.
Work on paper first. Sketch each round table, mark which group sits where, and keep clear walking paths between them.
I would seat the oldest guests nearest the entrance and restrooms, with friends who love the dance floor closer to it.
7. Zones for Dining Dancing and Socializing
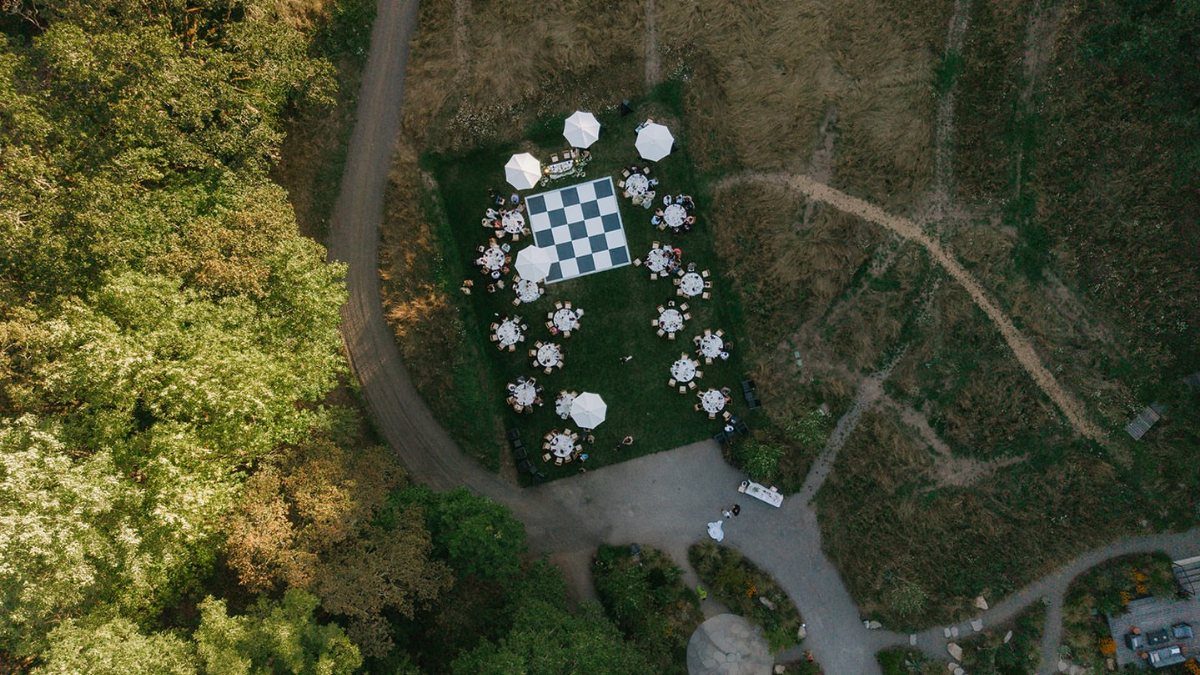
3 zones are enough for most receptions: eating, dancing, and a loose spot for mingling. Keep dining and dancing in separate areas so the music doesn’t drown out dinner conversation, but close enough that diners can see the floor.
On a lawn like this, a few umbrellas or lounge pieces off to one side give the socializing zone its own edge. I would mark each zone on your sketch before placing a single table.
Leave walking space between zones so guests can cross without squeezing past chairs.
8. Head Table
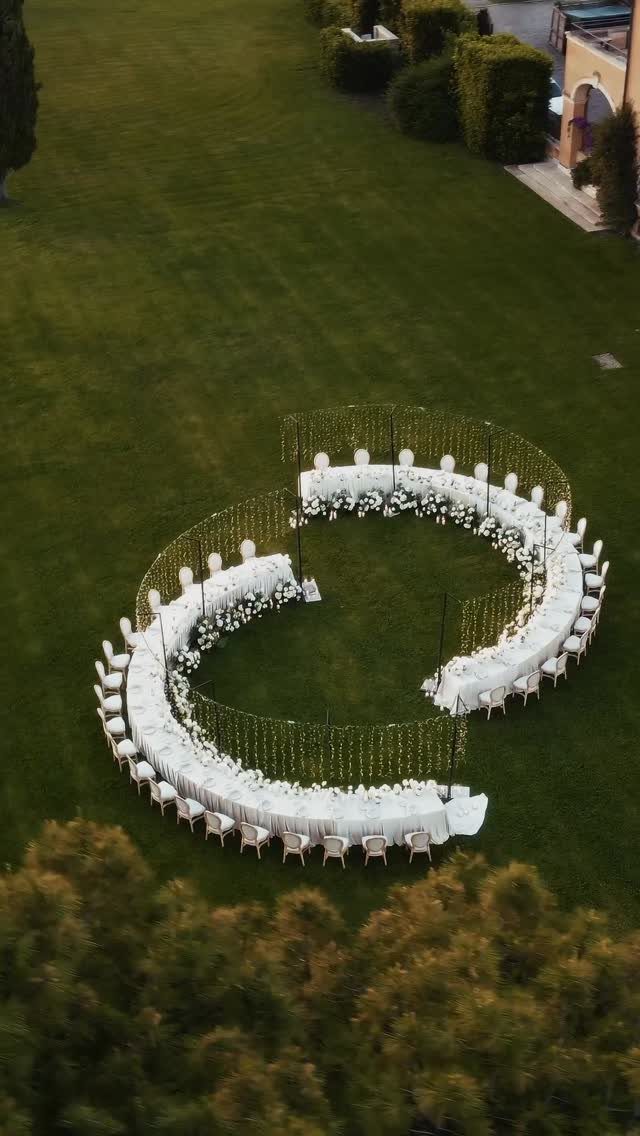
A curved head table gives the couple a front-row view of the whole party, and it can feel less stiff than a straight line of chairs. Everyone seated along the arc faces the room instead of a wall of backs.
White flowers and string lights along the front, as here, make the table read as the focal point without extra props. I would keep the decor low on the guest-facing side so nobody is hidden behind it.
A curve takes more space than a straight table, so mark its footprint on your plan early.
9. Curved Banquet Table Setup
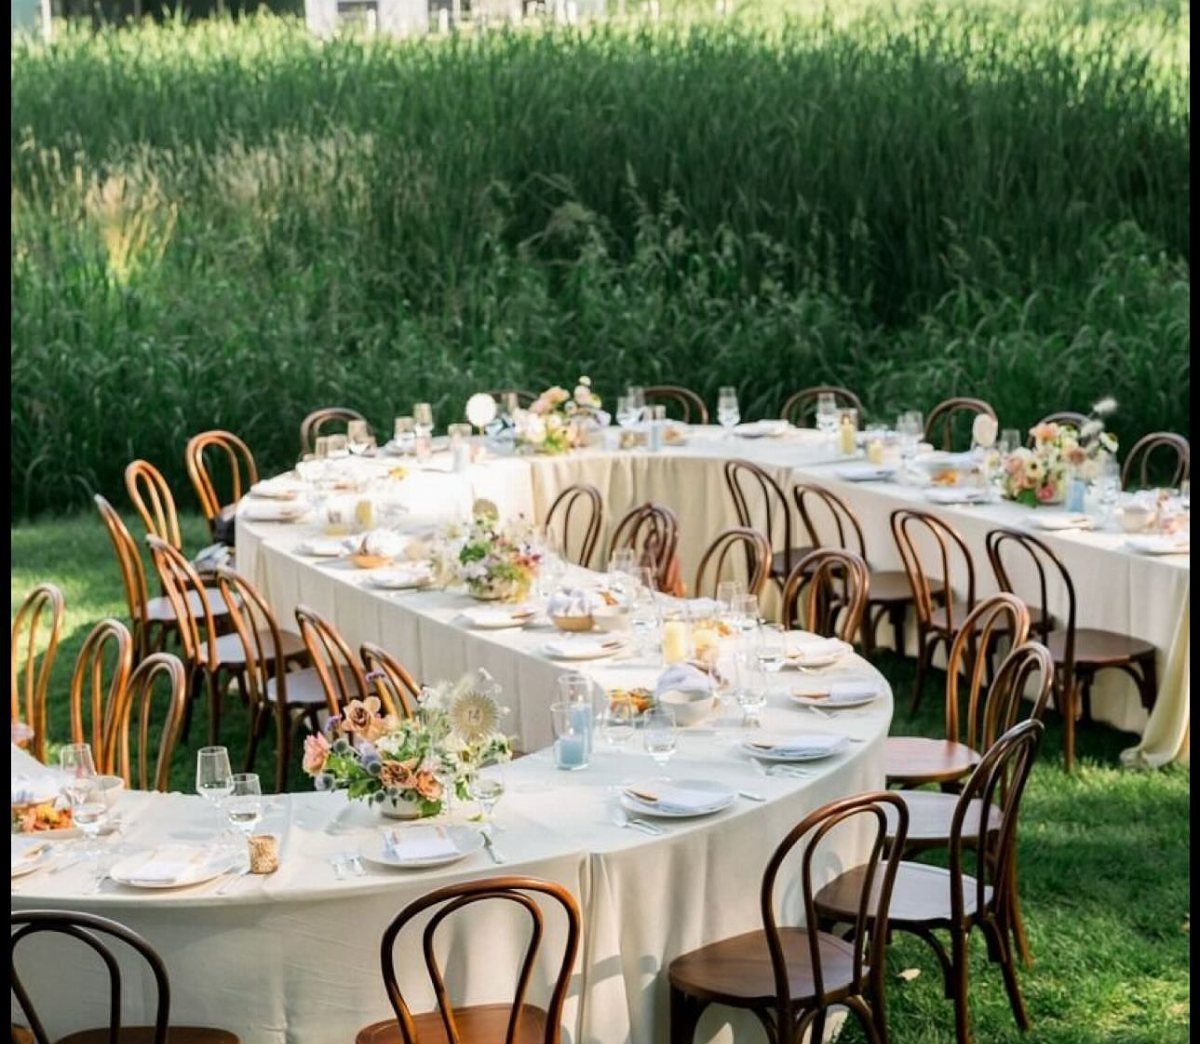
Curving a banquet table in a gentle arc lets guests lean toward each other, which a rigid straight run never quite does. It also follows the lawn, so the setup looks planned and relaxed at once.
Wooden chairs warm up white linens, so pick a natural finish if the tablecloths are stark.
I would test the arc with chairs in place before the day. Tight curves squeeze the inside seats, so widen the bend if elbows collide.
10. Digital Wedding Floor Plan Design
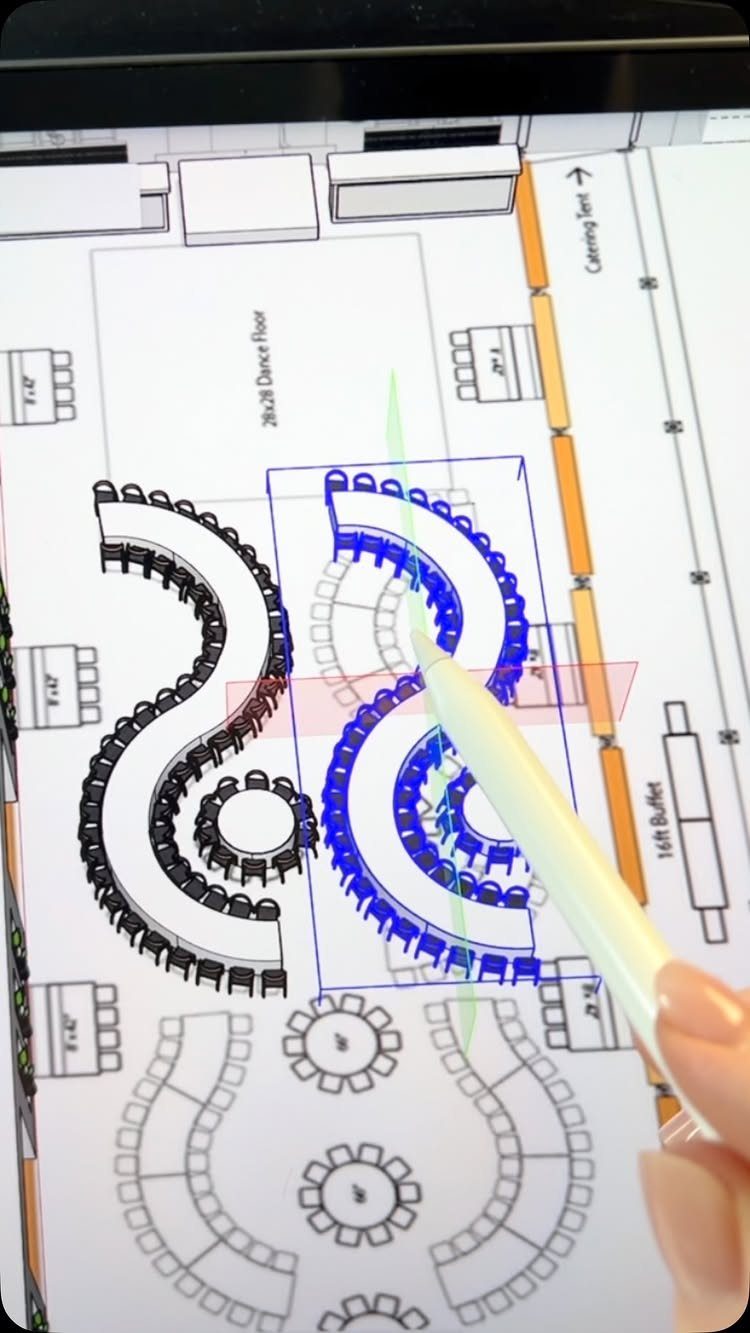
A digital floor plan lets you drag a dance floor, a buffet area, and curved tables around in seconds, which paper sketches can’t match. Changing your mind costs nothing.
Start by placing the fixed pieces, then add tables and test spacing. I would save a version before each big change so you can go back.
Print the final plan or share it with your venue and vendors so everyone works from the same layout. A free tool is plenty if your budget is tight.
11. Combined Ceremony and Reception Layout
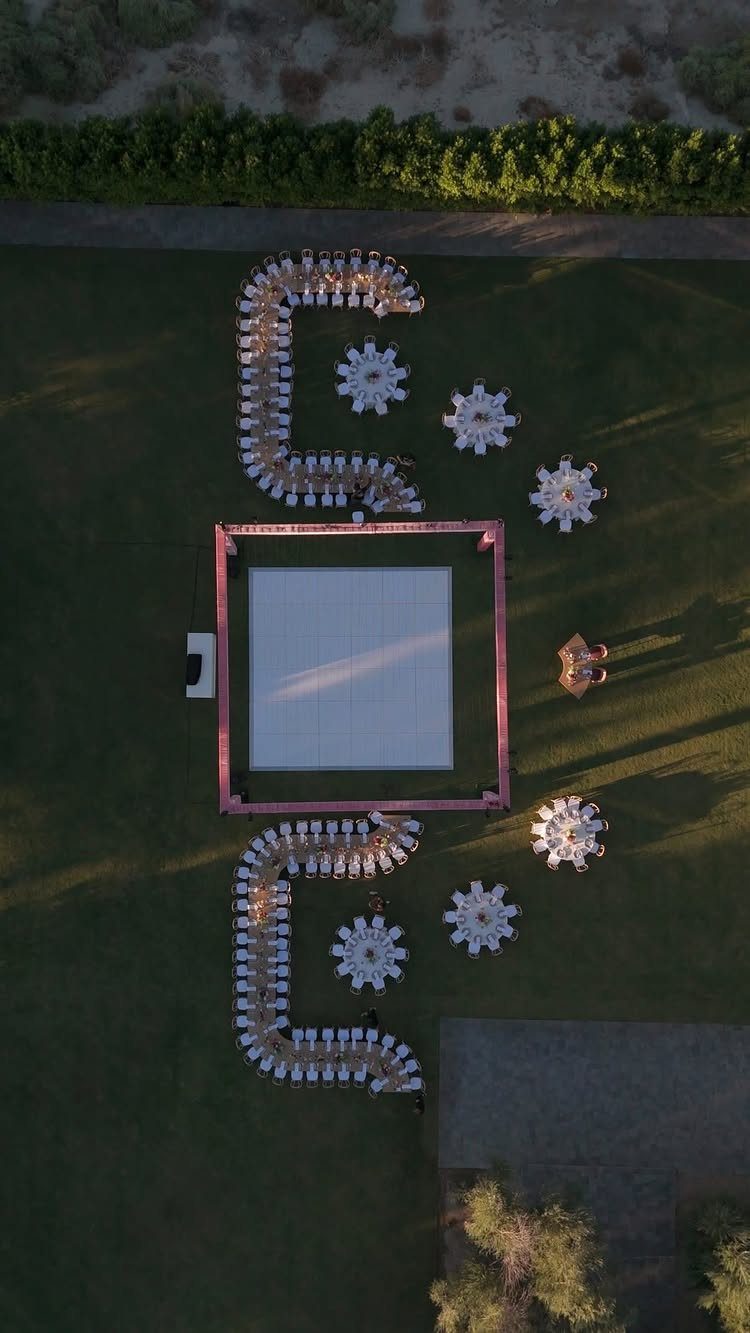
Curved ceremony rows that sit right beside the dining tables mean one space does both jobs. Guests watch the vows, then the same area becomes dinner and dancing around the central floor.
The big saving is fewer rented chairs and no travel between sites, though the chairs need moving after the ceremony. I would plan who does that and when, so guests aren’t left waiting.
Mark where the ceremony rows end and the tables begin, so the flip has a clear path.
12. Symmetrical Indoor Hall Layout
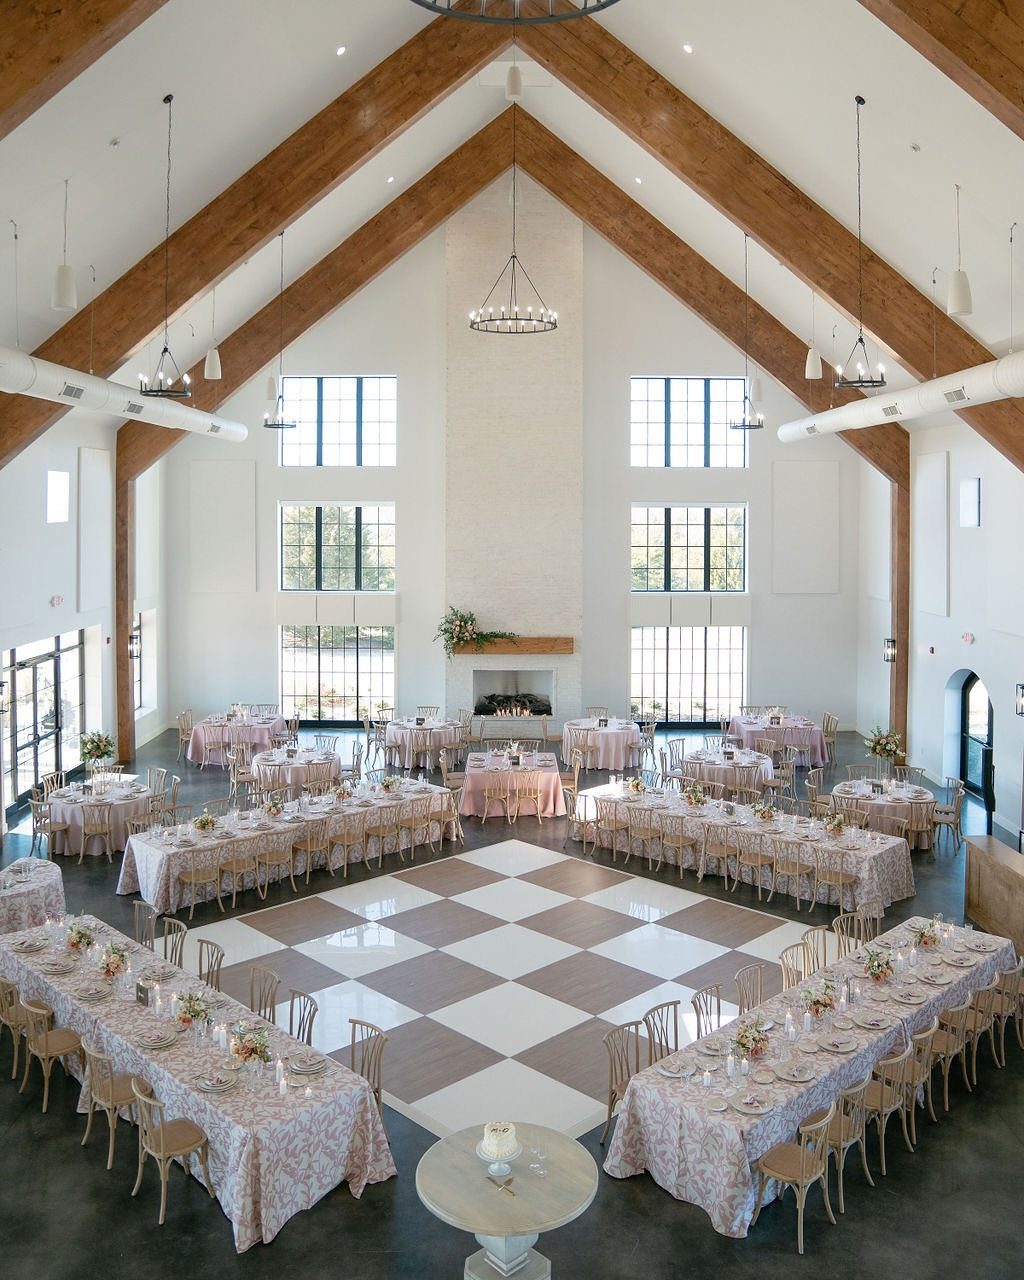
Long tables set symmetrically around the edge of a hall leave the middle open for a dance floor, and the room looks balanced from the doorway. Matching centerpieces down each side reinforce that order.
A large feature like the fireplace here works as an anchor: line the layout up with it. I would keep the floor central and the aisles between tables wide enough for servers and guests to pass.
Symmetry only works if counts match, so seat each side with the same number.
Importance of a Floor Plan
A floor plan decides problems before they happen. Layout errors are the kind you can’t fix once guests are in the room, because the tables are set, the vendors are loaded in, and the day is moving.
3 things depend on it: guest comfort, safety, and how fast your vendors can work. Clear paths matter for safety too.
A plan also tells the caterer, rental company, and band exactly where to set up. That cuts down on questions and last-minute moving on the day.
This holds for a rectangular ballroom and for an odd-shaped venue alike. A good plan gets more tables into the same space without crowding anyone, so work out how many tables really fit before you finalize the guest list.
Timing for Floor Plan Creation
Sketch your first floor plan before you place the rental order, since the layout is what tells you how many tables, chairs and linens to rent.
That order usually follows the catering decision, since the caterer may need barware, plates, utensils, chafing dishes, or ovens from the rental company.
For most couples this lands in the first 3 months of planning, though it can happen later if your rental list is short and has no specialty items.
Treat 60 days before the wedding as the latest date for a draft. It is often when your final venue tour happens, and a rough plan in hand makes that visit far more useful.
Expect several edits. Aim for a version that is at least 95 percent finished 2 weeks out, then send it to your vendors and any key family or helpers.
From the moment you receive your first RSVP, to exporting the finished floor plan, you’ll wonder how else you could’ve got the job done. Couples often start their reception, and potentially wedding ceremony seating chart roughly 3 weeks before the big day.
Guest Interaction Considerations
Spacing is the quiet part of guest interaction. A room with clear walking paths lets servers reach every table, keeps guests from feeling packed in, and stops anyone from ending up alone in a corner.
For ceremony seating, I would choose circular or semicircle rows over straight ones. The shape feels more intimate and puts guests closer to each other and to you.
Leave at least 24 inches between rows so people can get in and out without climbing over knees.
When you seat guests, look at who sits where.
Avoid parking a lone guest at a table of strangers, or pushing a group to a far corner. Put people with something in common together, and check the plan once more for anyone who ends up isolated.