Skill level and time on the calendar should settle the choice before taste does.
The list runs from the S’mores Kit, which anyone can assemble in one sitting, to Fabric Favor Pouches, Homemade Jam Jars and DIY Candles, which reward practice.
1. S’mores Kit
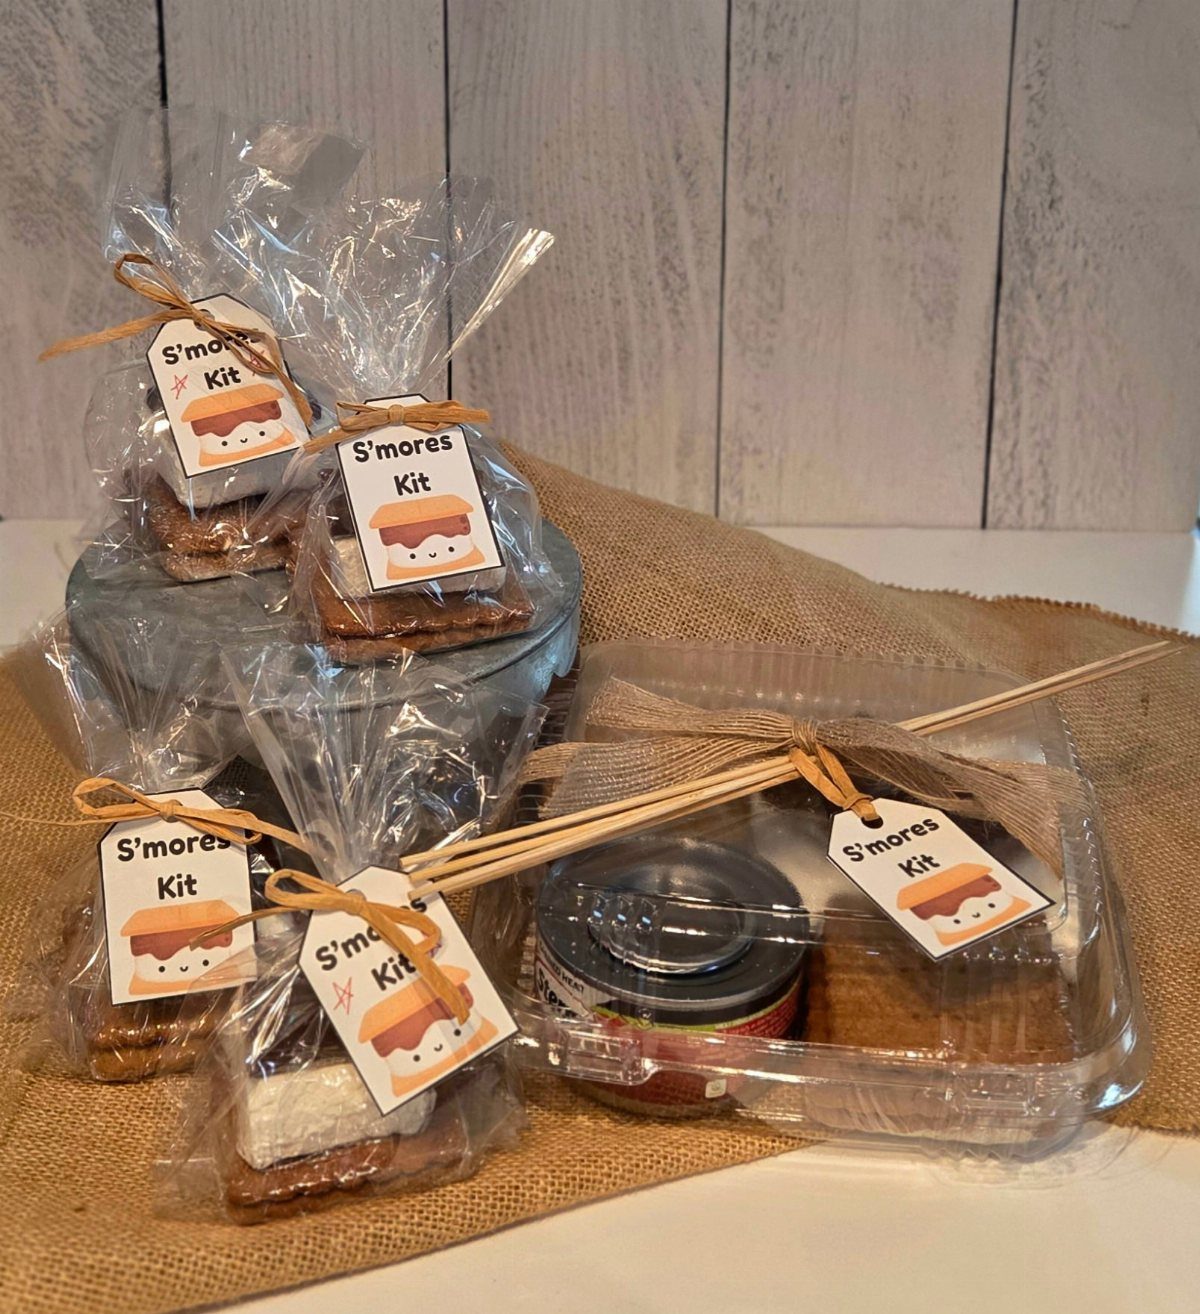
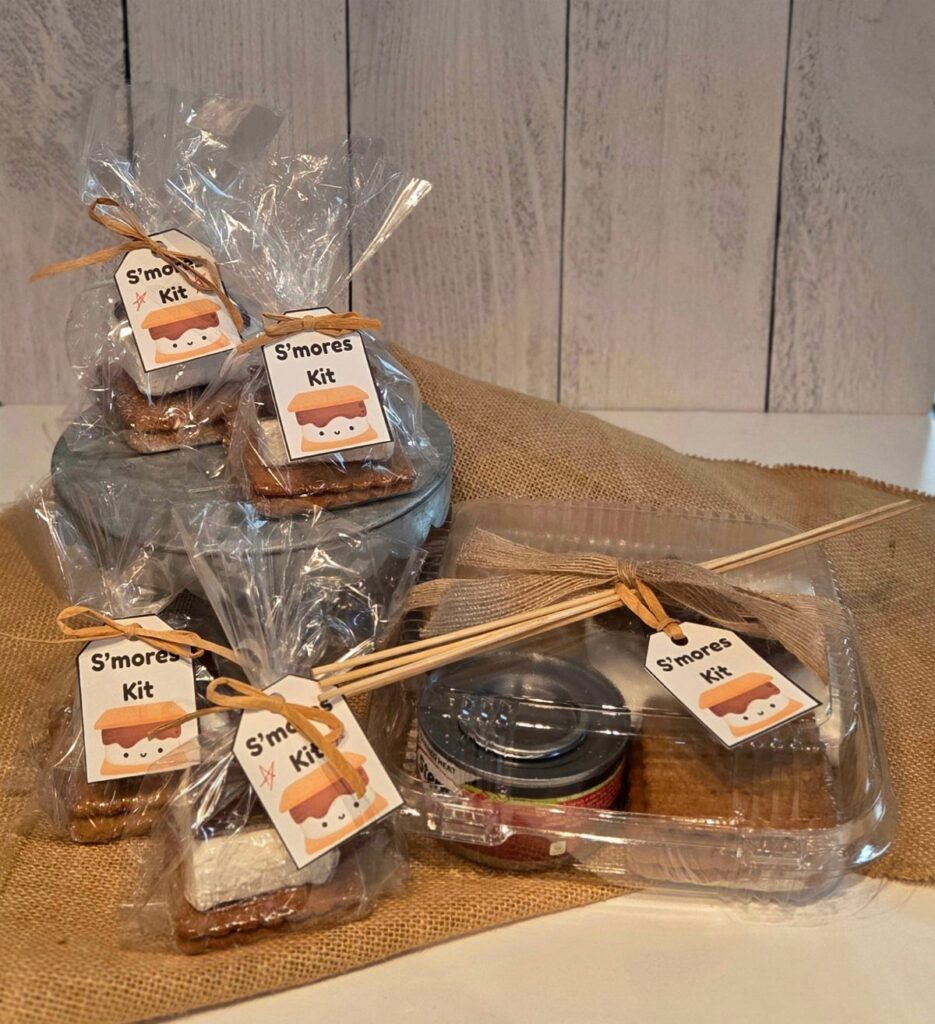
Graham crackers, marshmallows and chocolate go into one clear bag, and that is the whole kit.
Assemble them in one sitting with a helper or two.
Keep the tag wording short: "S’mores Kit" says everything it needs to. Set the bags on burlap at the favor table and they look like part of the decor.
2. Succulent Favors
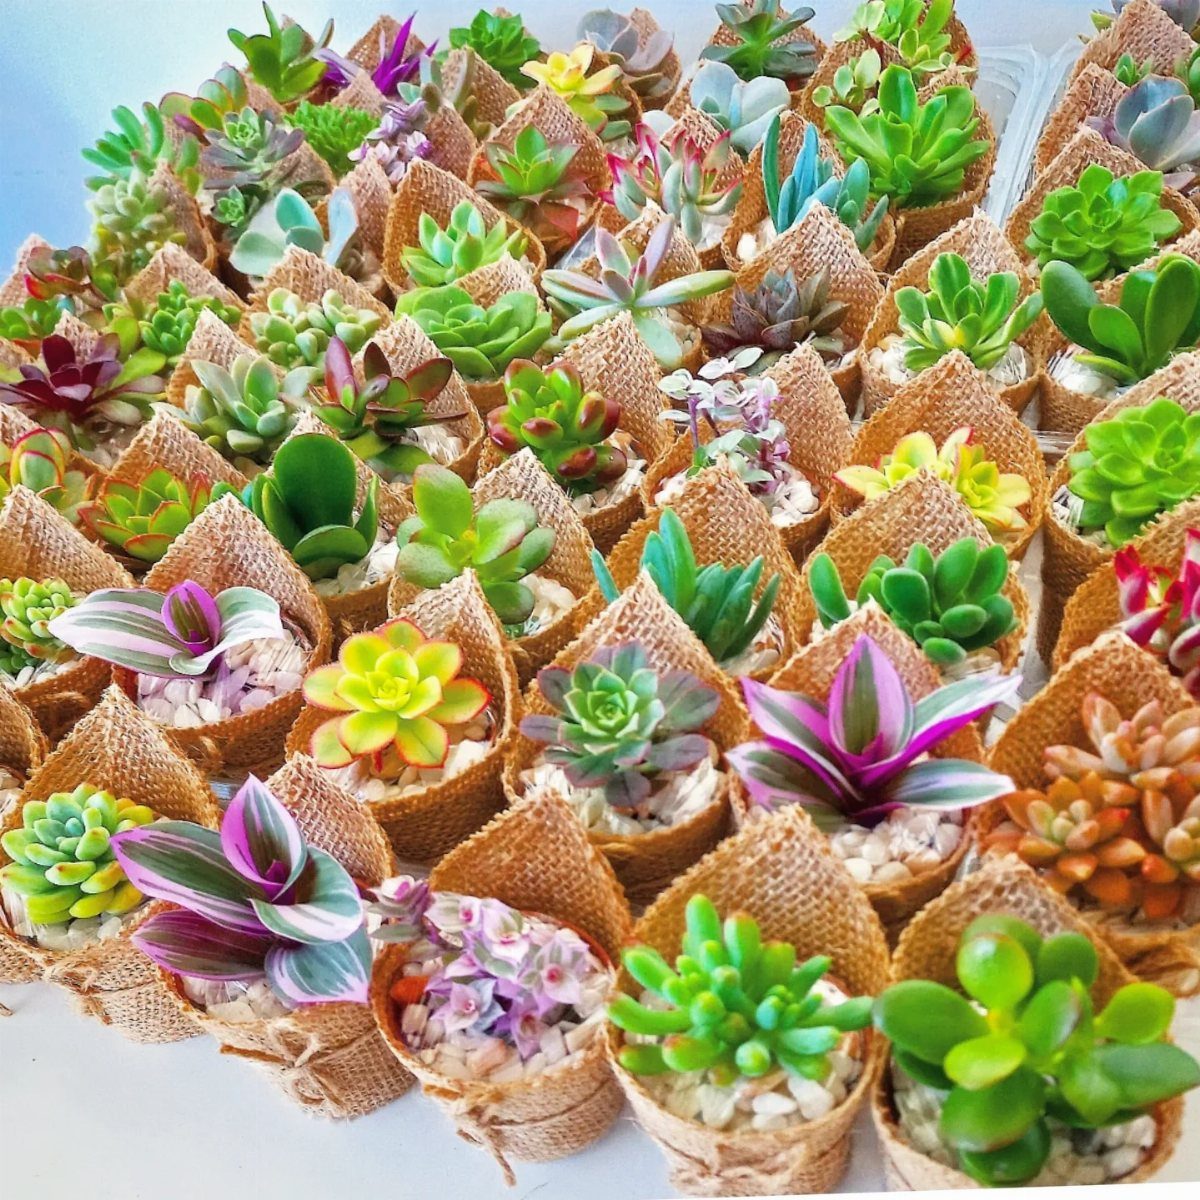
Small potted succulents wrapped in burlap are a favor guests can keep alive, which is more than most favors manage. Packed close together on a table, the burlap-wrapped pots read as one textured display before anyone picks one up.
I like this one for couples who want something eco-friendly without a printed label. If you prefer a variation, mini terrariums work in the same spot, though they take more assembly per guest.
3. DIY Candles
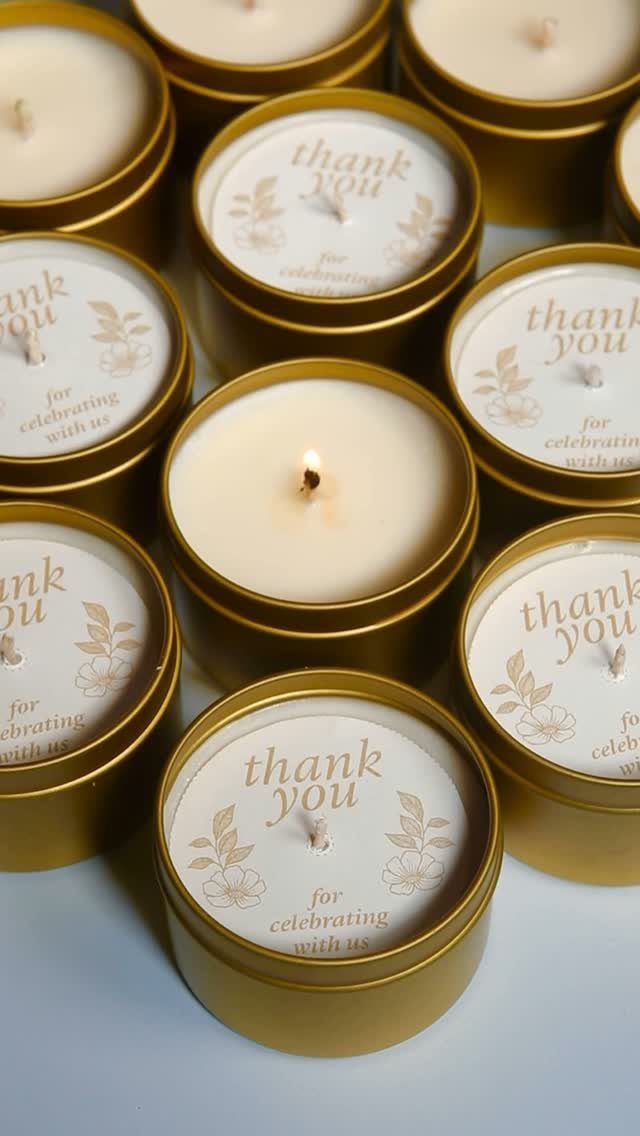
A small gold tin of white wax, topped with a "thank you for celebrating with us" label, is a favor that does its job on the guest’s own shelf.
Scenting the wax with essential oils is the personal part, so pick one fragrance you love and use it across every tin.
Keep the label wording simple and let the floral accent carry the look. Light one candle on the favor table so guests can smell it.
4. Honey in Mason Jars
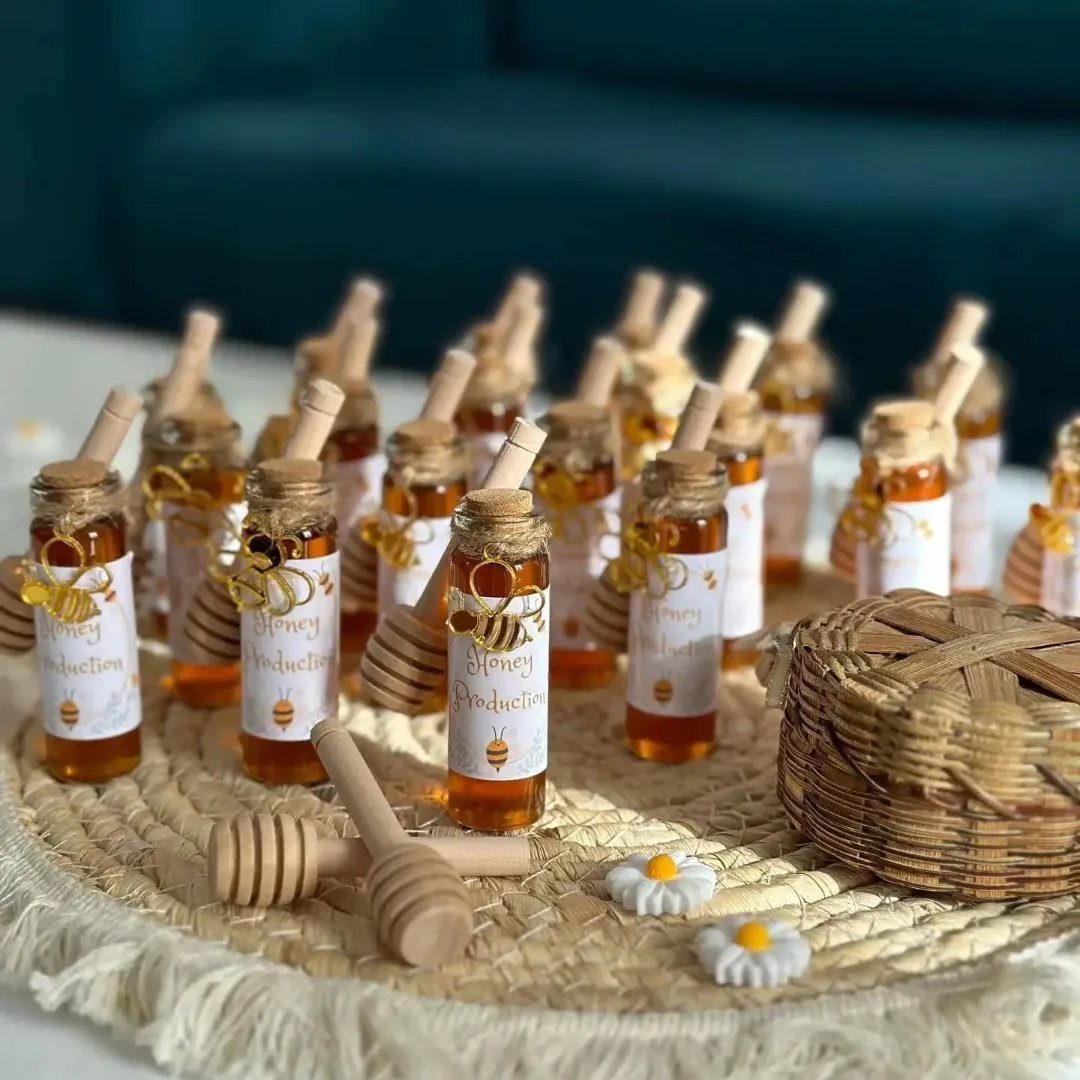
Honey is an easy favor to love: sweet, useful and naturally on theme with a bee label.
A small glass jar, twine and a bee charm look finished, and a wooden honey dipper tucked alongside gives guests something to use right away.
Because the jar itself is the packaging, labeling is where the effort goes.
Print "Honey Production" or your own wording on a tag and tie it on with the charm. Display the jars on a woven mat.
5. Decorated Mason Jars
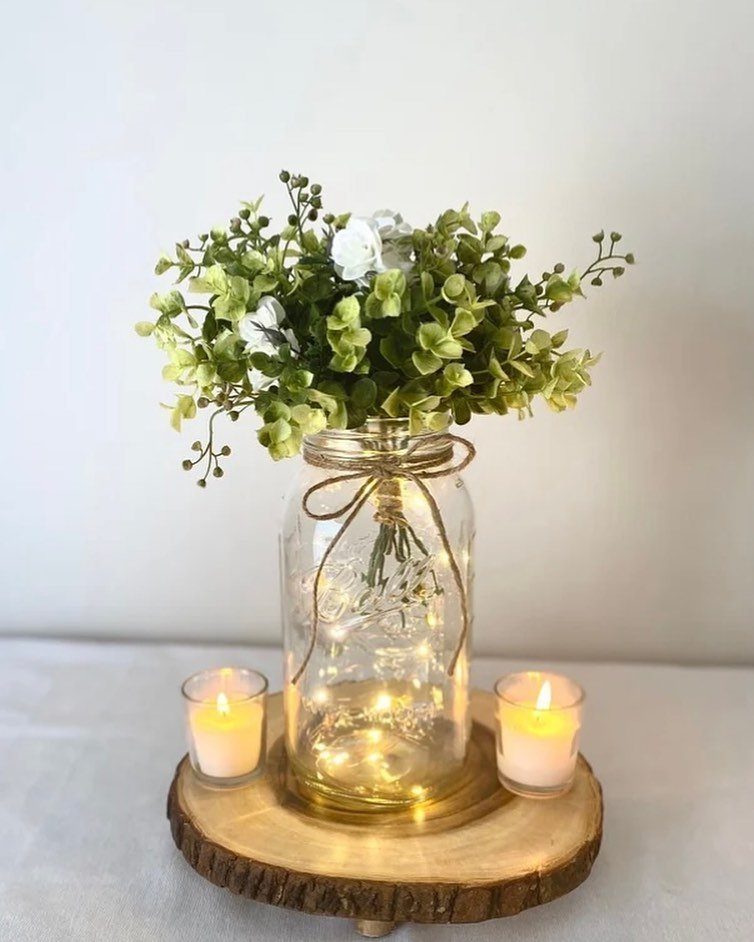
Guests take it home afterward, so you get a centerpiece and a favor from one purchase.
Twine is the cheap finishing touch. If the lights are battery-powered, check them before the day.
6. Sugar Scrub
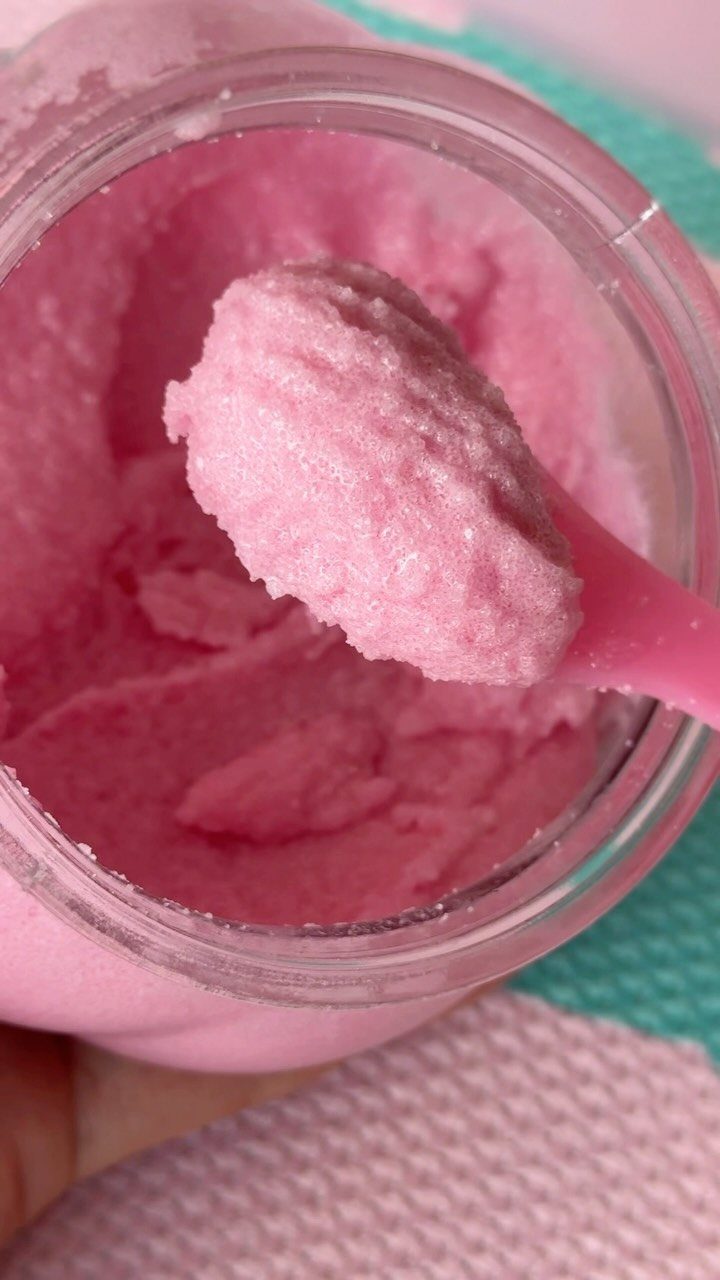
A pink sugar scrub in a clear glass jar looks good enough to gift without much dressing up.
A clear glass jar shows off the scrub’s color, and a small spoon tucked in lets guests scoop it out without dipping their fingers in.
Sugar is cheap, which keeps a big batch affordable.
Choose one color and one scent so every jar matches. Add a simple label and the jar is done.
7. Homemade Cookies
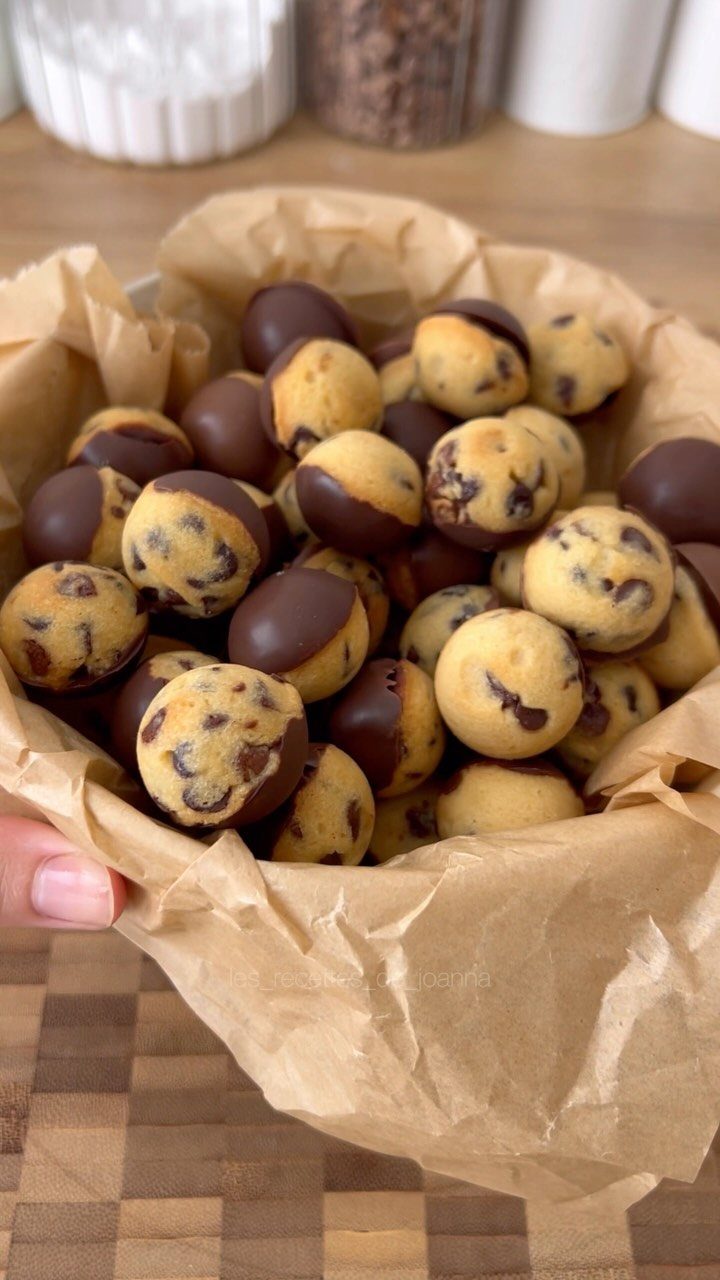
Bake in batches and make the chocolate dip the last step, since it sets quickly while you work. Brownies are a fair swap if you would rather cut squares than shape dough.
A paper liner keeps the chocolate from sticking to the container.
8. Trail Mix Favors
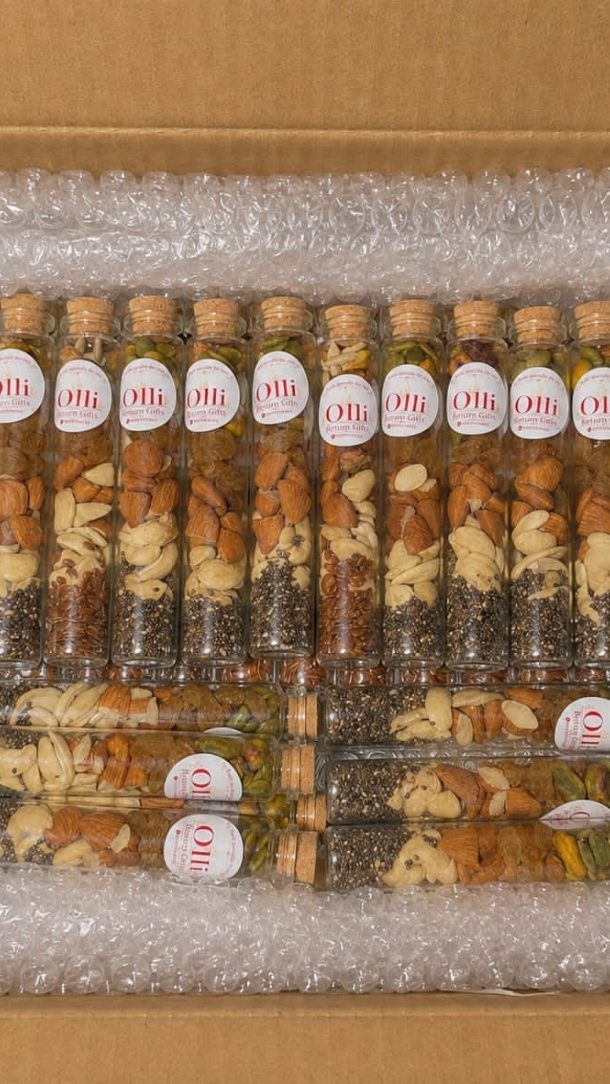
Trail mix suits guests who skip sweets, and layering nuts and seeds in a small glass bottle makes it look deliberate. Pour each ingredient in separately so the bands stay distinct, and finish with a cork stopper.
Blending your own lets you choose the mix, which is the personal part. Put your own wording on the label, a short line or a joke between the two of you, so the bottles read as yours.
If you are carrying them to the venue, pack them in a box with bubble wrap so nothing cracks or crumbles on the drive.
9. Matchbox Favors
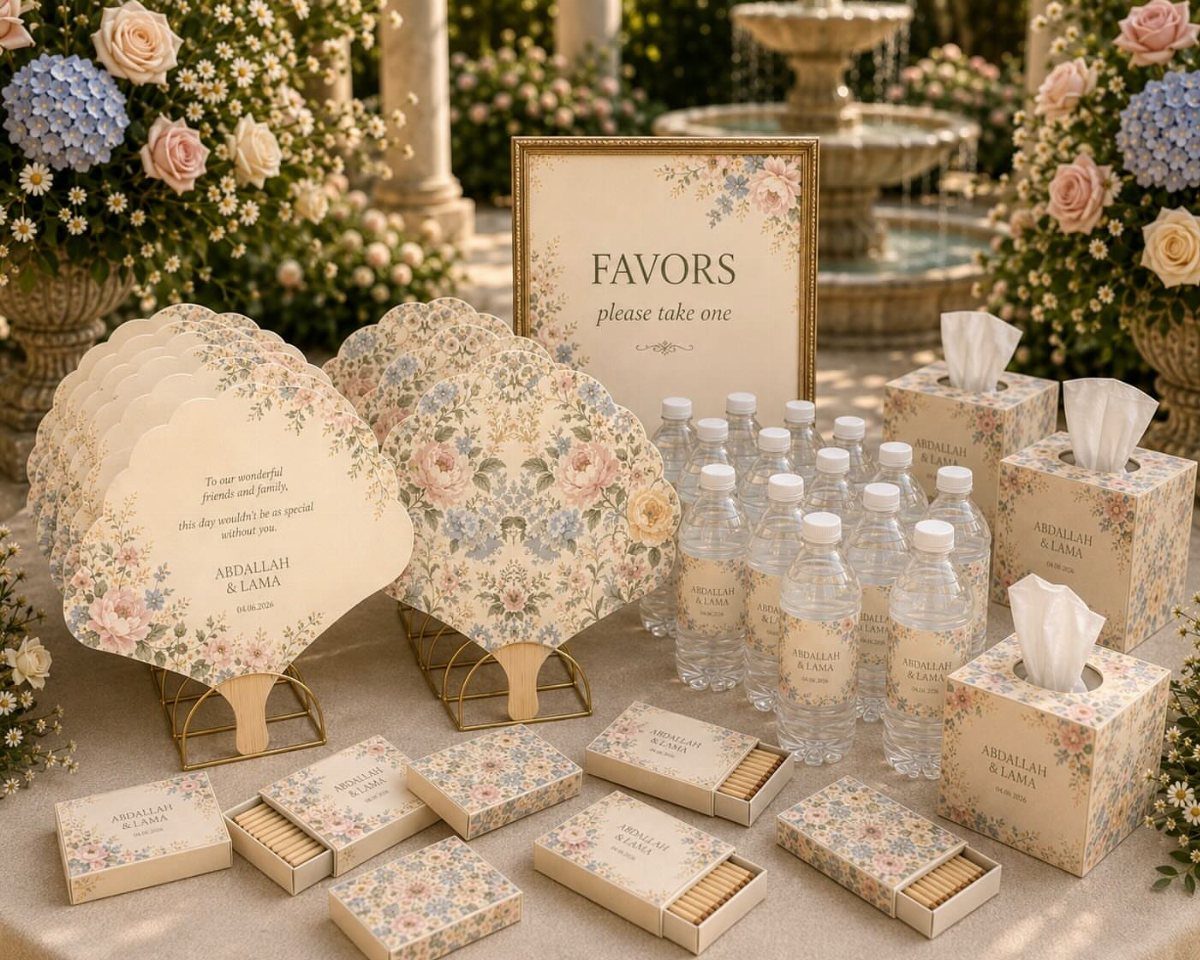
Matchboxes cost little and carry a lot of design, because the whole surface is a canvas. A floral print gives a plain box the look of stationery, and printing your names on it makes it a keepsake.
I would pair them with a hand-lettered sign like "please take one" so nobody wonders whether they are decor. Cluster them with flowers on the favor table.
Order or print the covers early; the matches themselves go in last.
10. Packaged Chocolates
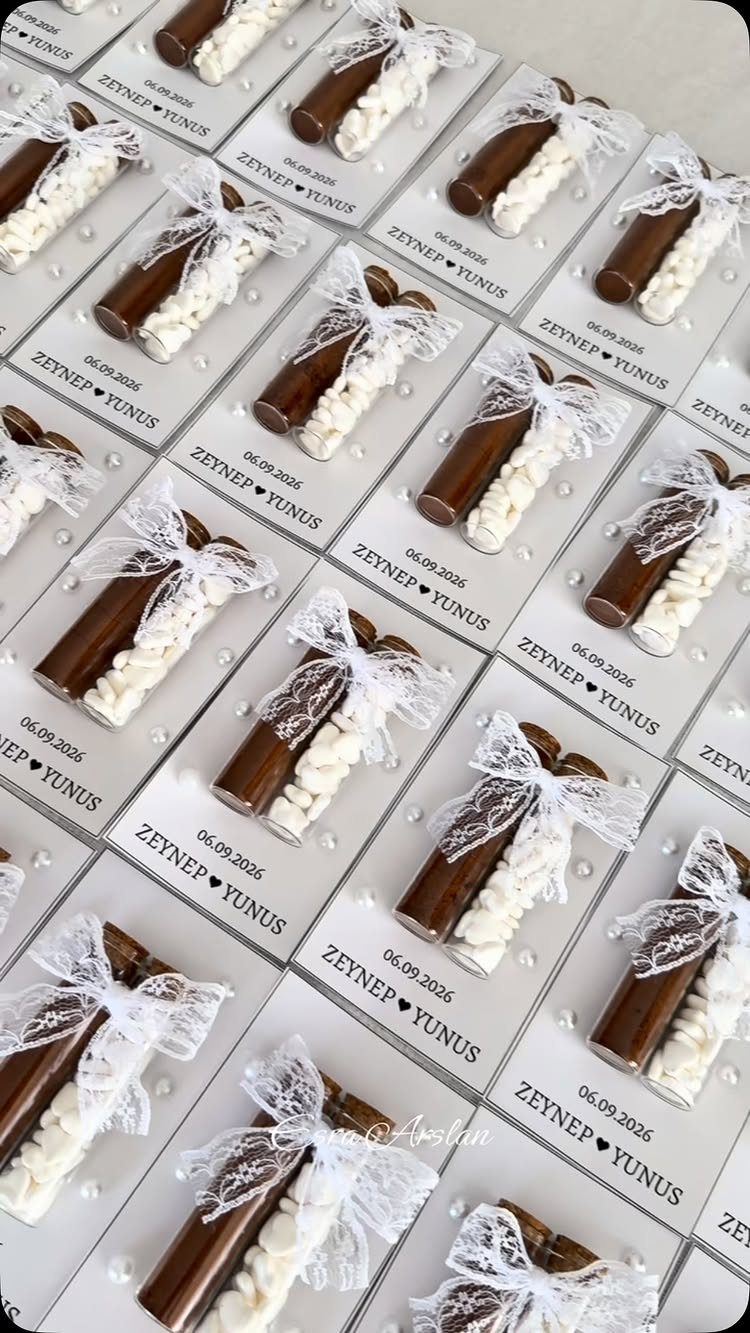
Chocolate sticks in slim glass tubes, tied with a lace bow, read as a finished gift with almost no skill required. Mixing brown and white chocolate gives each tube a two-tone look.
Buy the chocolate rather than making it; the packaging is where your time pays off.
Fill the tubes close to the top so nothing rattles.
11. Salt & Pepper Favors
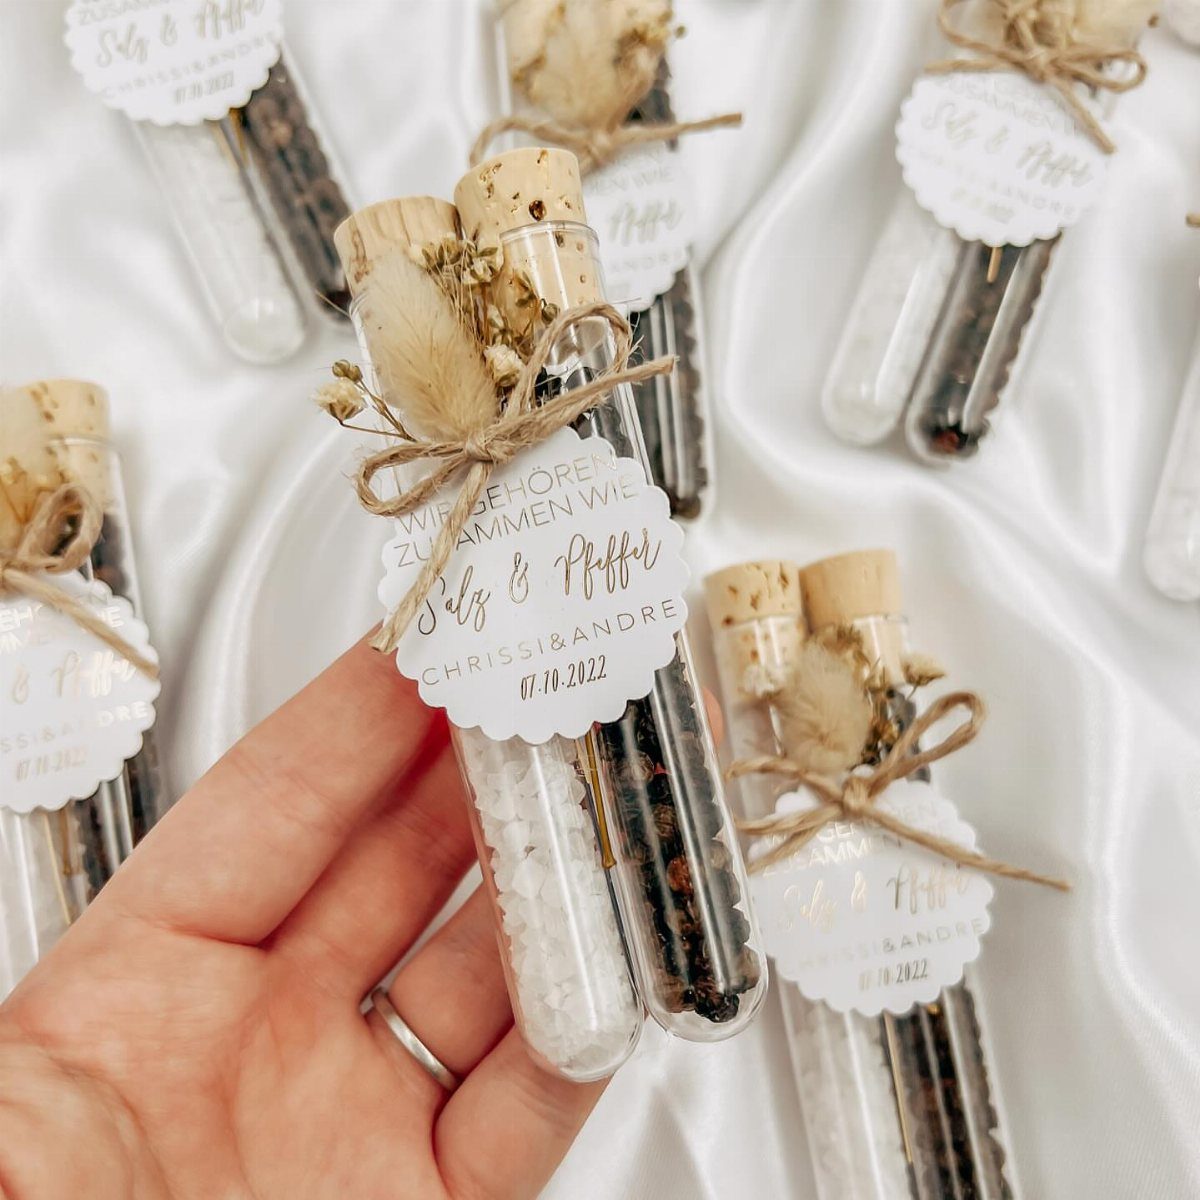
Salt in one vial and pepper in another is a pairing guests understand at once, and it lets you print a line like "we belong together like salt and pepper." Corked glass vials keep the contents neat.
Label each vial, then tie both together with twine and a tag carrying your names and the date. Fill them with a small funnel; spilled salt and pepper are a slow cleanup.
Choose your own phrase, in any language that suits your guests.
12. Packaged Popcorn Favors
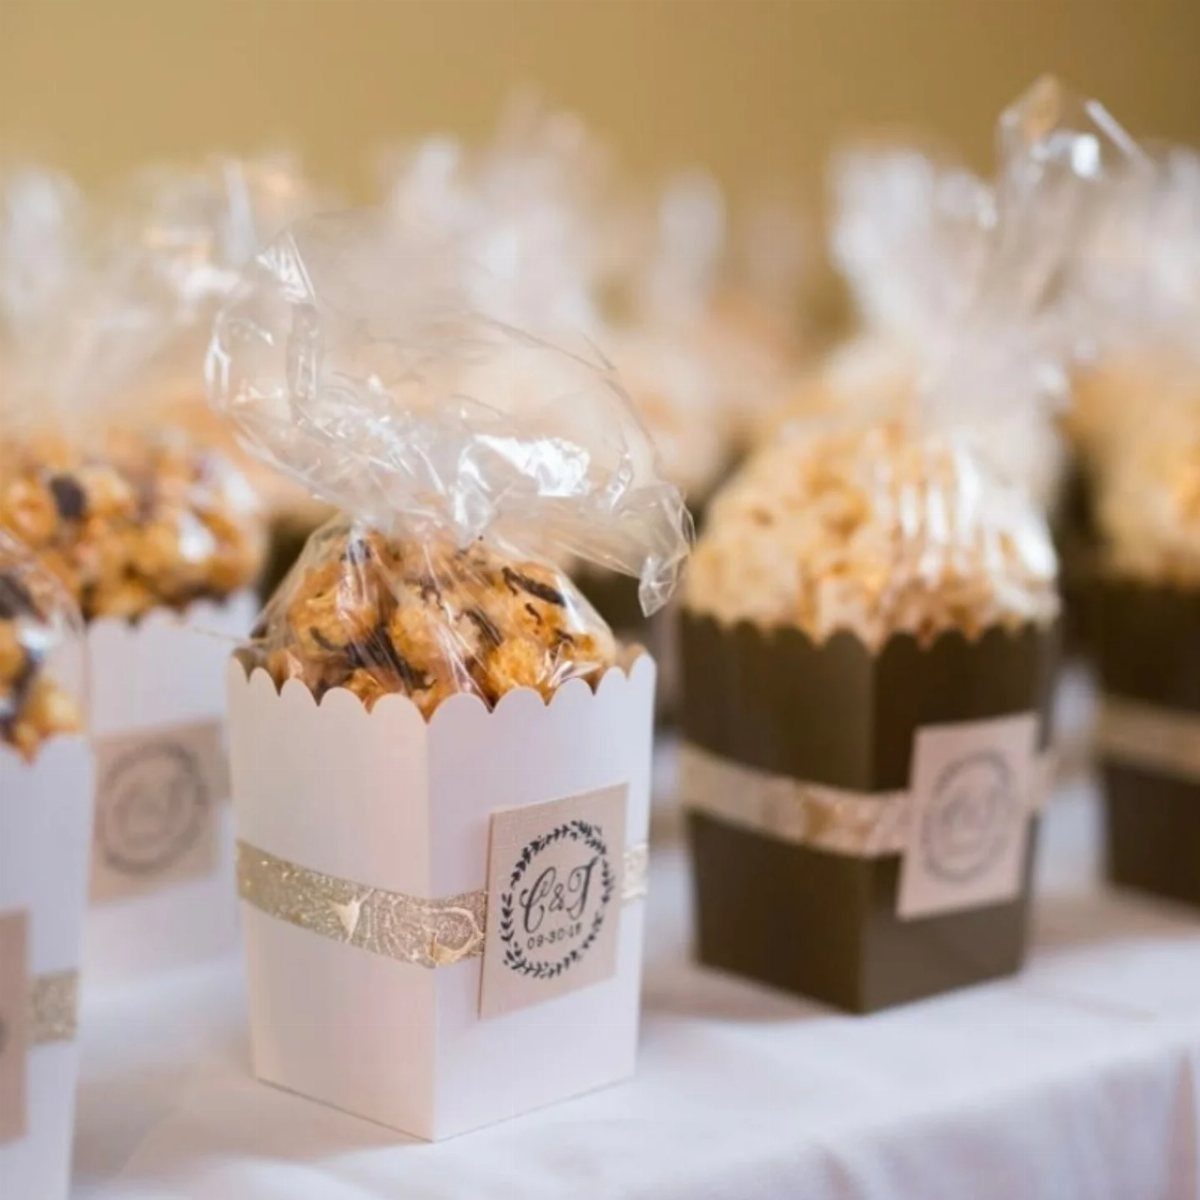
Popcorn is among the cheapest favors to scale up, and a cardboard box wrapped in clear plastic keeps it fresh and visible. Mixing white and brown boxes gives the table some variety without adding cost.
Finish each one with a gold ribbon and a label showing your initials and the date. Pop and pack as close to the wedding as you can, so the popcorn is at its best.
Stack the boxes in rows on a white tablecloth to make a display.
13. Fabric Favor Pouches
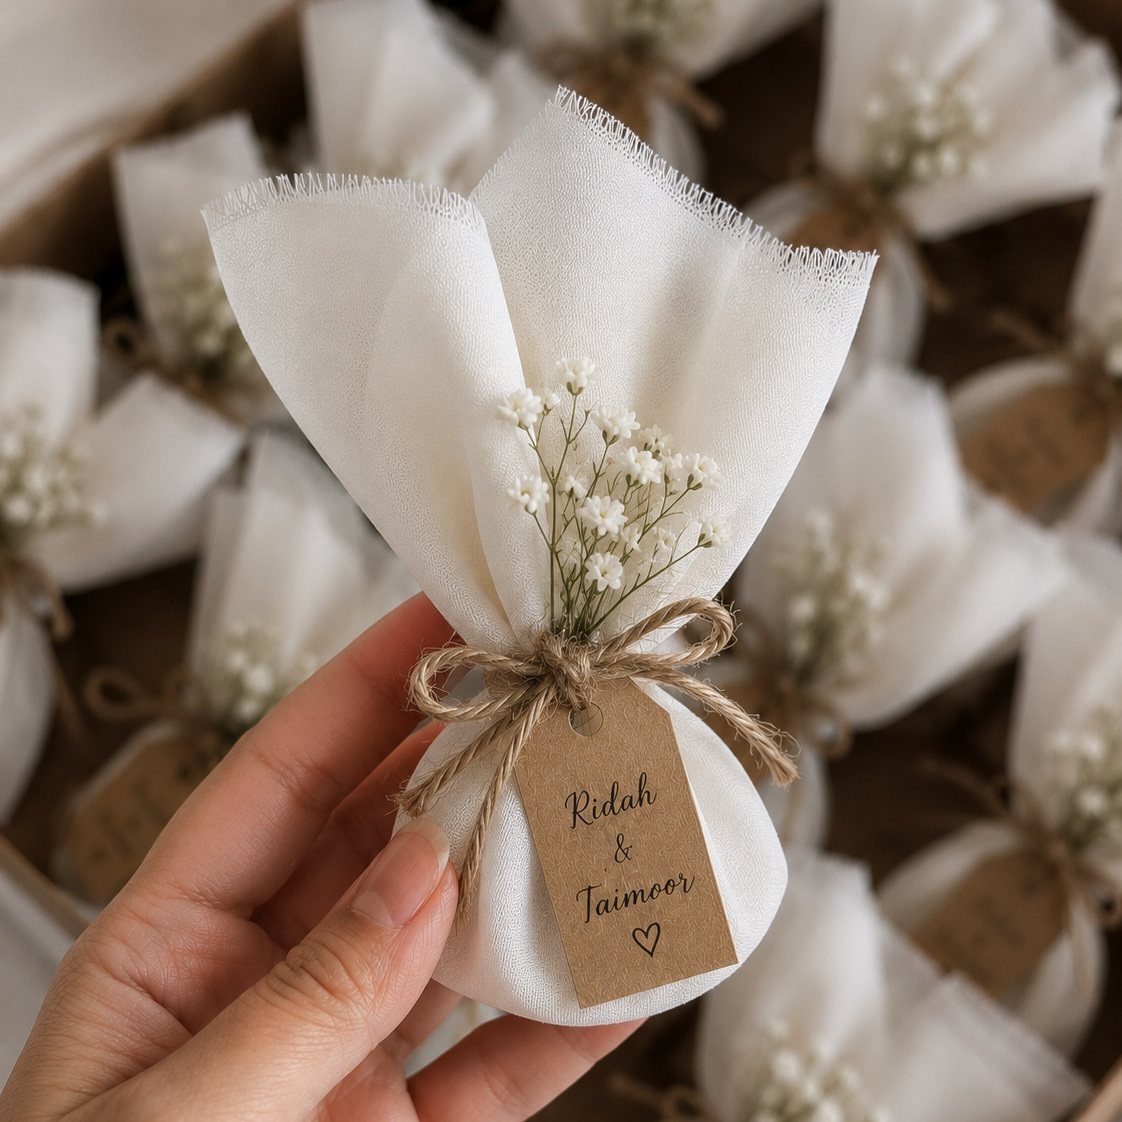
A white drawstring pouch can hold whatever small treat you choose, and the twine, kraft tag and baby’s breath sprig do the styling.
Sew or buy the pouches, then fill them all with the same item so the batch looks uniform.
Write your names on the tags by hand, or stamp them if your handwriting wobbles. Tuck the baby’s breath under the twine last, since it wilts if you add it too early.
Fabric pouches double as small storage bags afterward, which keeps them out of the trash.
14. Mini Soap Boxes
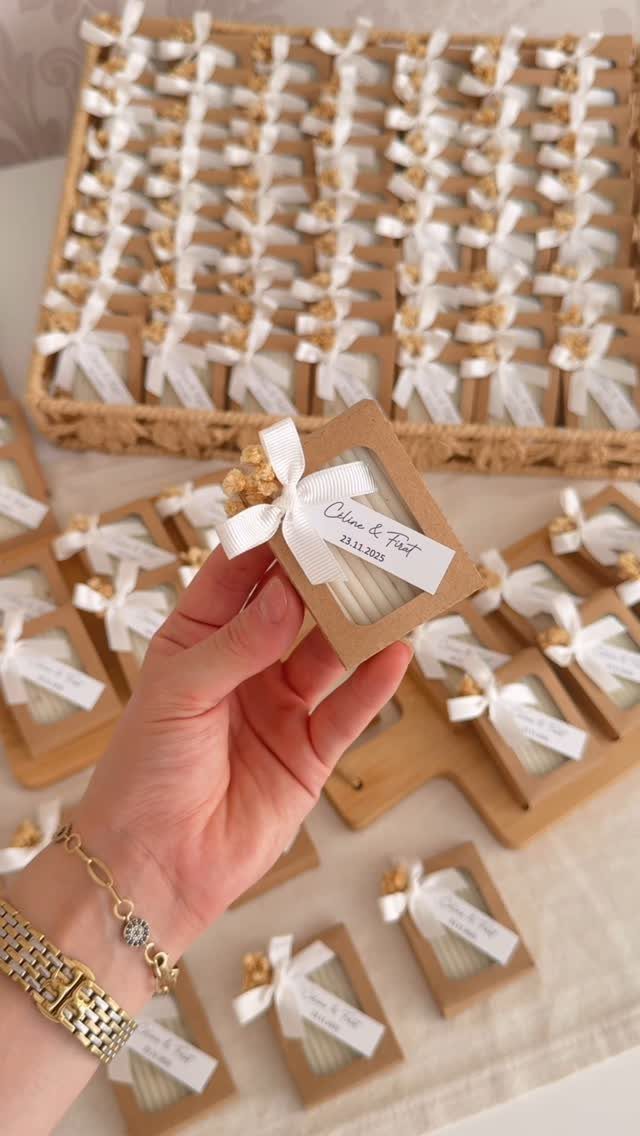
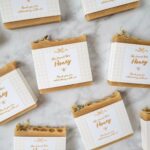
Soap in an open kraft box, finished with a white ribbon, could pass for something you bought at a boutique and takes little skill to pack.
A single small bar fits each box, so the cost scales with the number of guests and nothing else.
Put your names and the wedding date on the tag, the way this one does with its date. Pile the finished boxes in a basket and let guests help themselves.
If you make the soap yourself, let it cure fully before boxing it.
15. Homemade Jam Jars
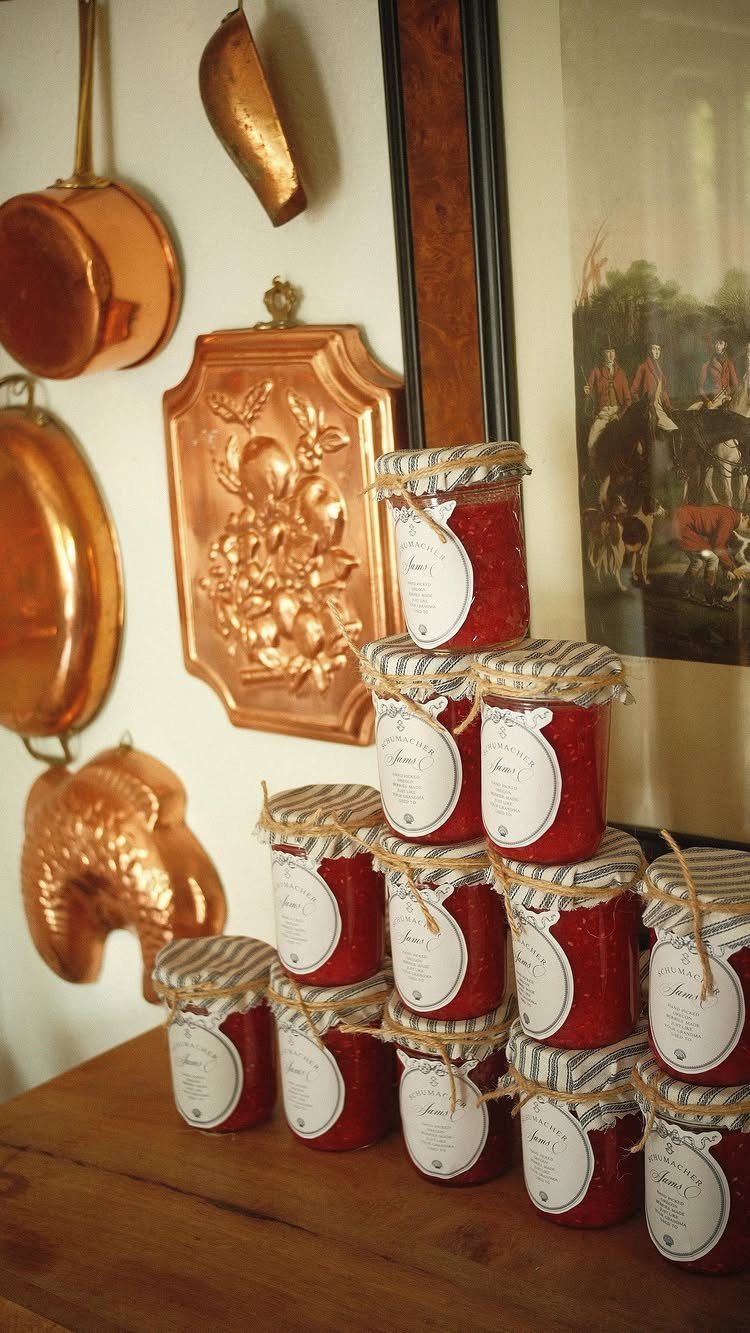
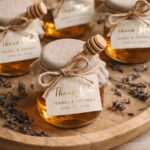
Jam is a favor with a built-in personal story, especially when the label reads like a tiny brand name for the two of you.
Cover each lid with a square of white fabric and tie it down with twine, which hides the metal and costs less than printed toppers.
Cook one big batch of one flavor rather than several small ones. Stack the jars on a wooden table or shelf for the favor display.
Make the jam well ahead and label last.
16. Custom Seed Tubes
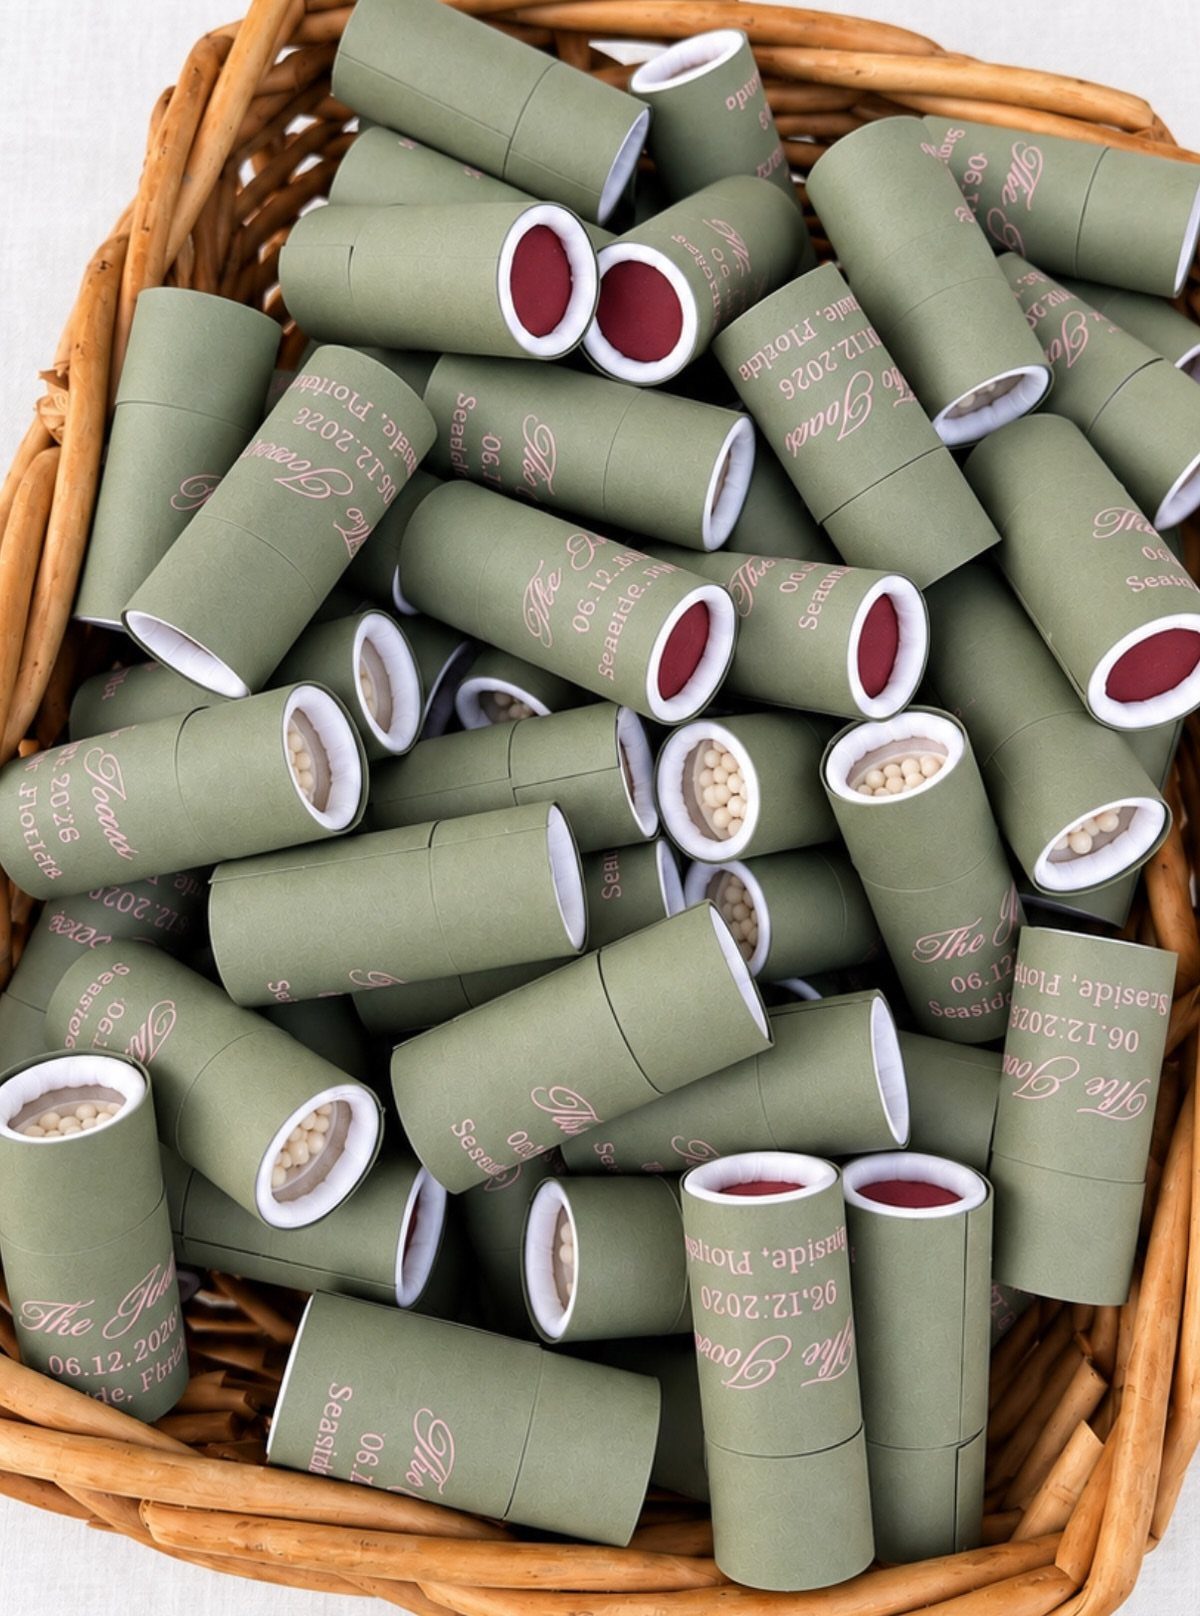
A slim cardboard tube printed in cursive with your names and date turns a packet of seeds into a favor guests can plant.
Sage green looks calm in a wicker basket, and a basket keeps the tubes upright and easy to grab.
Choose seeds that suit the season guests will be home in, and skip anything hard to grow. Order the printed tubes early, then fill them in one sitting.
A small line telling guests what to plant is worth adding.
17. Dried Flower Vials
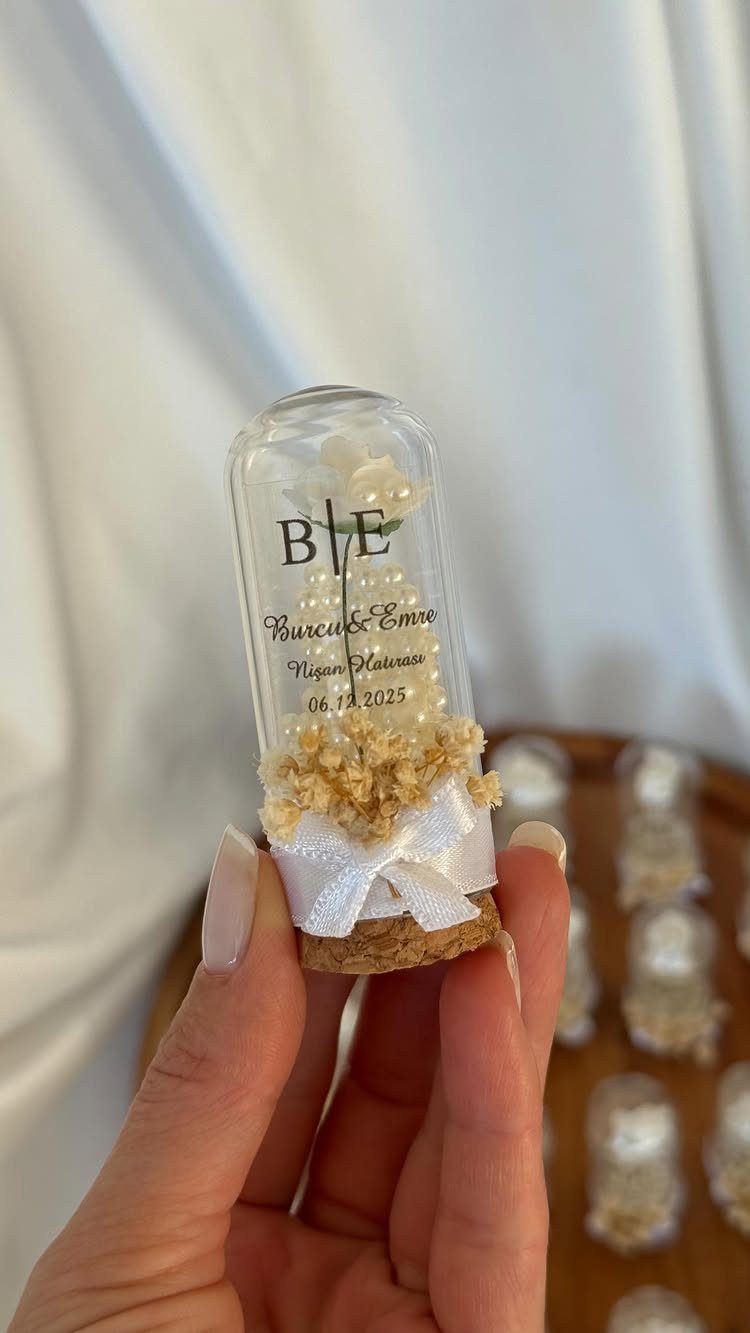
Tiny dried flowers inside a corked glass vial last far longer than a fresh bloom, so the favor stays pretty on a guest’s shelf.
Dried flowers are light and fragile, so drop them in with tweezers instead of fingers. Press the cork in gently, and pack the vials in a padded box for transport.
I would choose one flower type for the whole batch; it looks cleaner and is simpler to buy.
DIY Wedding Favors Benefits
Cost is the obvious draw, since a handmade favor lets you spend on materials instead of a markup.
With a guest count in the triple digits, even a savings of a dollar or two per favor adds up to real money for the rest of the budget.
The less obvious draw is what the making does for you. Working on small, repetitive details is a good stress reliever during planning, and it gives you something to do besides refreshing the RSVP count.
Set aside an evening, put on music, and make it a project the two of you share. A favor you assembled together also tells guests, without a word, that you thought about them.
Time Management for DIY Favors
Plan to finish every favor at least 4–5 days before the wedding. That buffer absorbs the things that go wrong: a short shipment, a batch that needs redoing, a guest count that changed.
Work backward from that date. Order supplies first, test one favor from start to finish, then time it so you know how long the full batch will take.
A big guest list does not rule out handmade. It just means choosing a simple design and setting up an assembly line, with one person filling, one tying and one labeling.
The days right before the wedding fill up fast, so keep favors off that list entirely.
Skill Level Considerations
Pick a project that fits what you can already do. If you have never sewn, a pouch order of 150 is a poor time to learn; if you bake often, cookies will feel like a relaxing evening instead of a chore.
Test one favor before you commit to the whole batch. If a trial run goes badly, that is useful news while there is still time to switch to an easier project.
Simple projects can still look polished. Good packaging and clean labels do more for the finished look than a hard technique does.
Choose the project you will enjoy repeating, because you will repeat it many times.
Frequently Asked Questions
What are the cheapest wedding favors I can make?
Popcorn in clear-wrapped boxes, sugar scrub, and homemade cookies or jam are among the easiest to scale.
Popcorn and sugar are cheap in bulk, and a handmade favor means you pay for materials instead of a retail markup. Even saving a dollar or two per favor adds up fast with a triple-digit guest count.
How far ahead should I finish DIY wedding favors?
Finish them at least 4–5 days before the wedding. Those 4–5 spare days absorb a late supply order, a batch of favors that comes out wrong, or a guest list that grows or shrinks.
Count back from the wedding date, and make a single favor from start to finish first, so you can multiply its time by your guest count and see what the full batch will really take.