The favors here run from a bag of marshmallows and chocolate to a pour-your-own soy candle, and the one fact that picks yours is the season of your wedding: a hot cocoa kit suits a winter date, while jam, succulents and cookies need no weather at all.
Your own patience comes second, since a decorated cookie or hand-painted mason jar takes far longer per guest than a labeled bottle or a printed matchbox.
Whatever you choose, the tag with your names and date does most of the personal work.
1. DIY Soy Candles
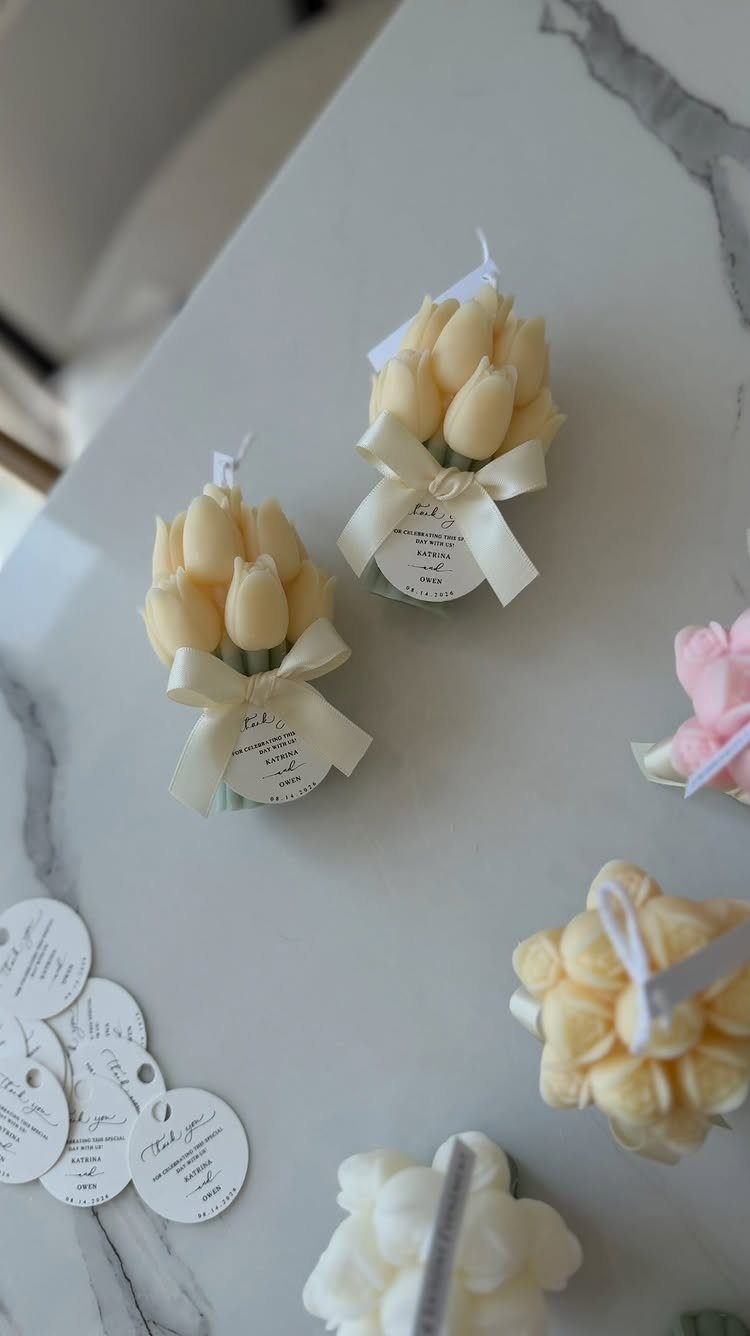
Tulip-shaped candles tied with a ribbon and a tag carrying your names and date read as a keepsake rather than a table filler. The tag does the personal work, so spend your effort there.
Print or stamp the tag with names and the date, as the example does, and keep the ribbon white so the candle stays the focus. A cream candle on a plain surface looks best when nothing else competes with it.
Pour a test candle before committing to a full batch.
2. S’mores Kit
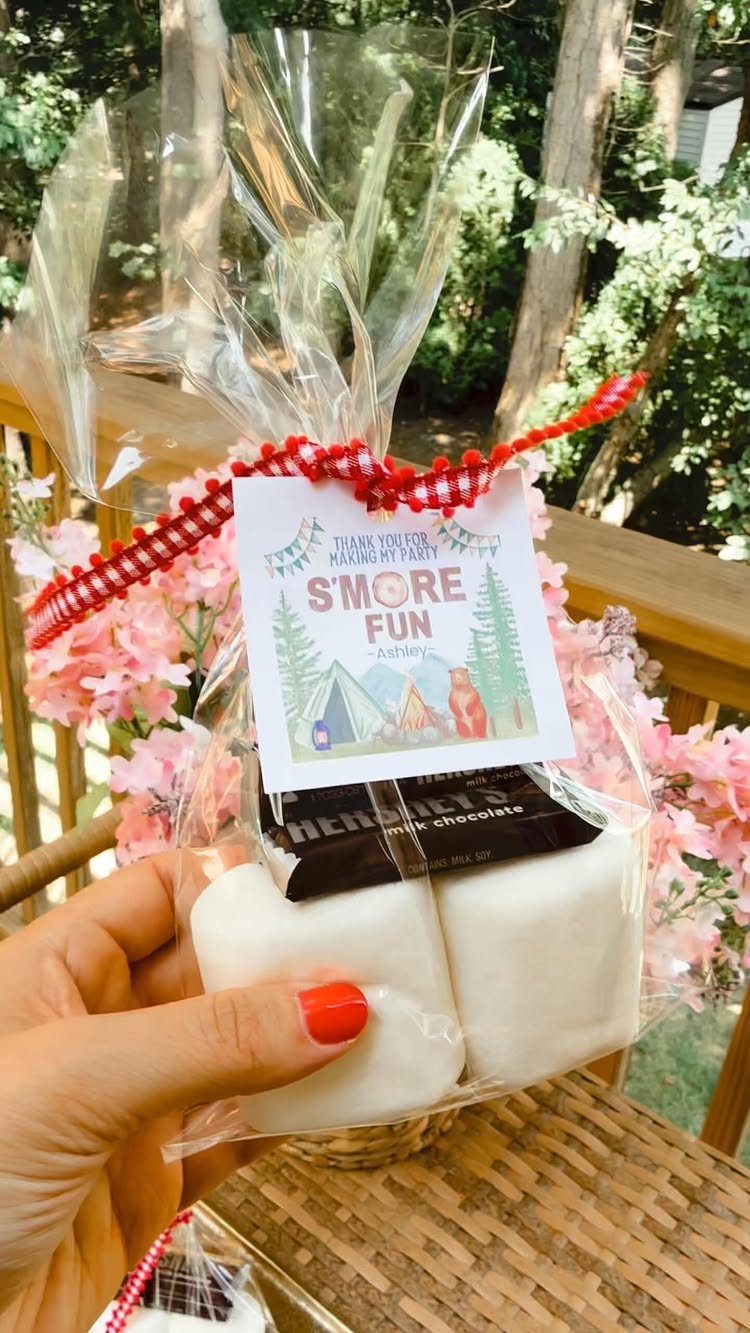
A clear bag lets guests see exactly what they are getting: marshmallows and a chocolate bar, which is all a s’more needs on the sweet side.
A red ribbon and a punny tag, like "SMORE FUN" with your name, finish it for very little money.
Use a clear bag so the contents show. Add graham crackers if you want a complete kit, though that makes the bag bulkier and more likely to crush.
Assemble these close to the wedding date.
3. Homemade Cookies
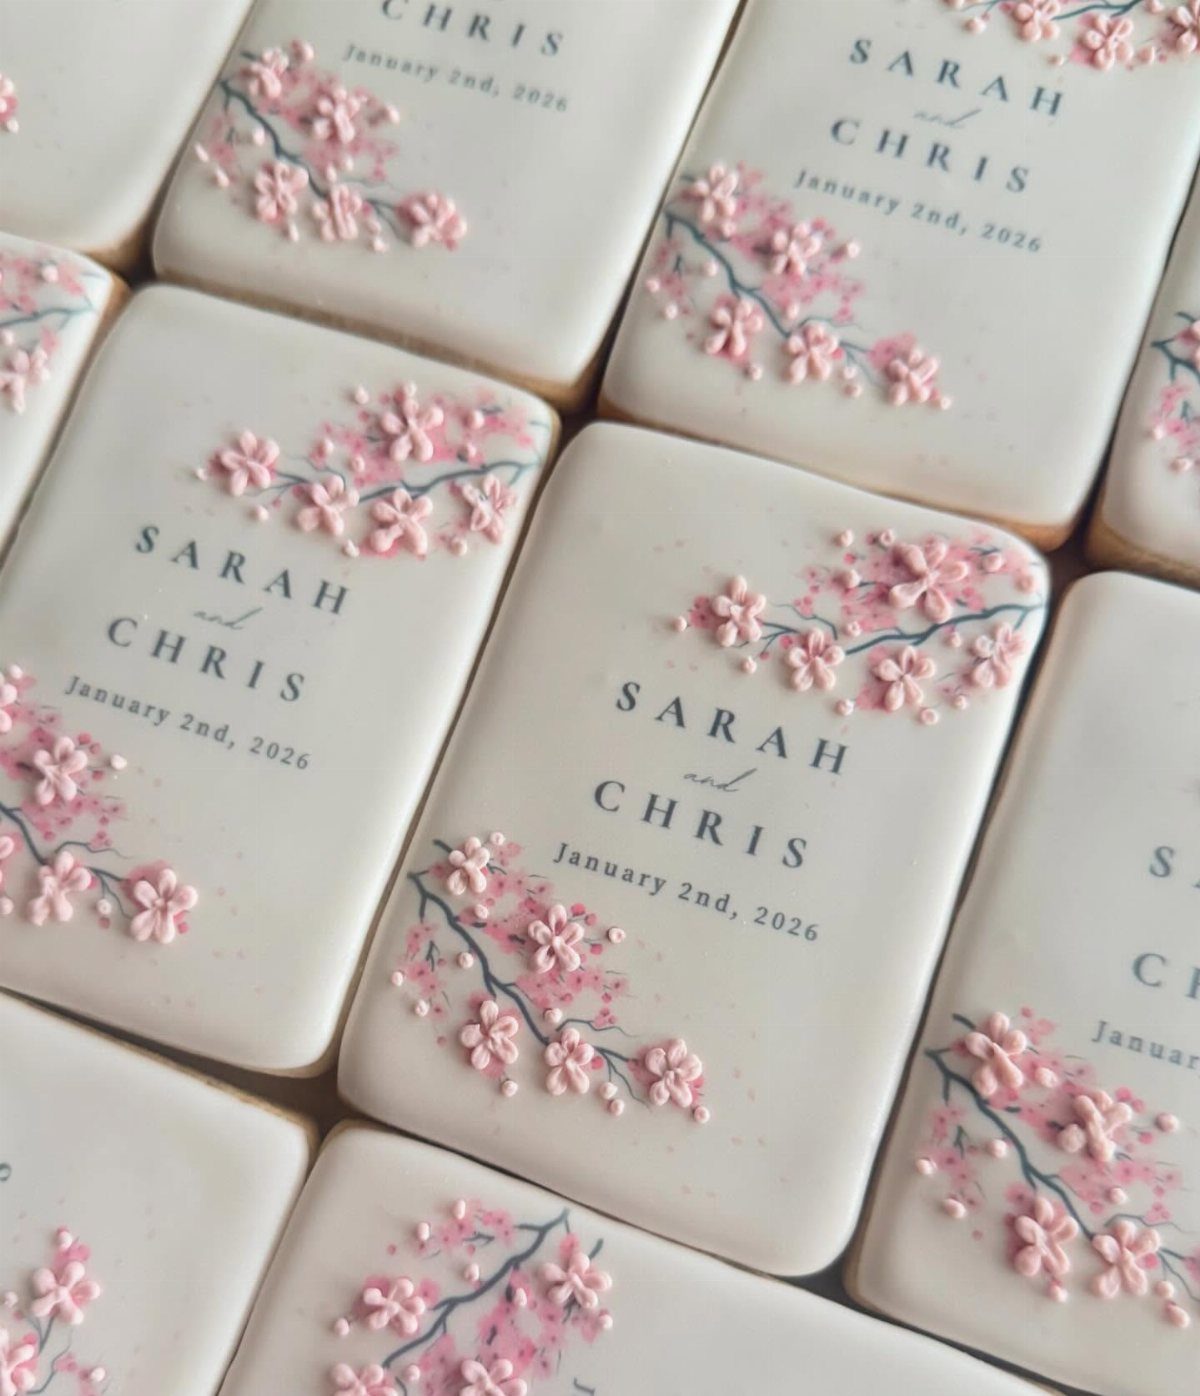
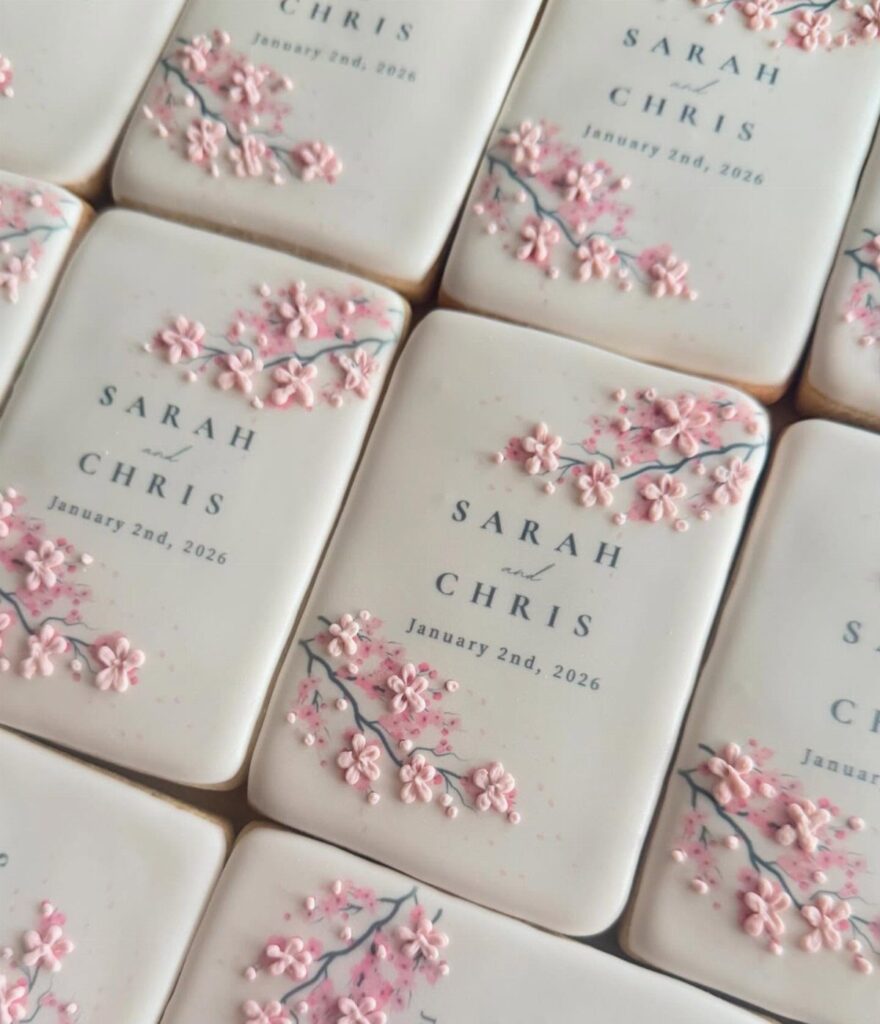
Rectangular sugar cookies give you a flat white canvas, and icing is where the personalizing happens. Add names and the date in lettering, with a floral accent if the season fits.
If your piping hand is shaky, keep the flowers simple and put the effort into clean lettering, since the names are what guests will remember. Flat rectangles also stack and wrap easily.
Do a practice batch first so you know how long each one takes.
4. Potted Succulents
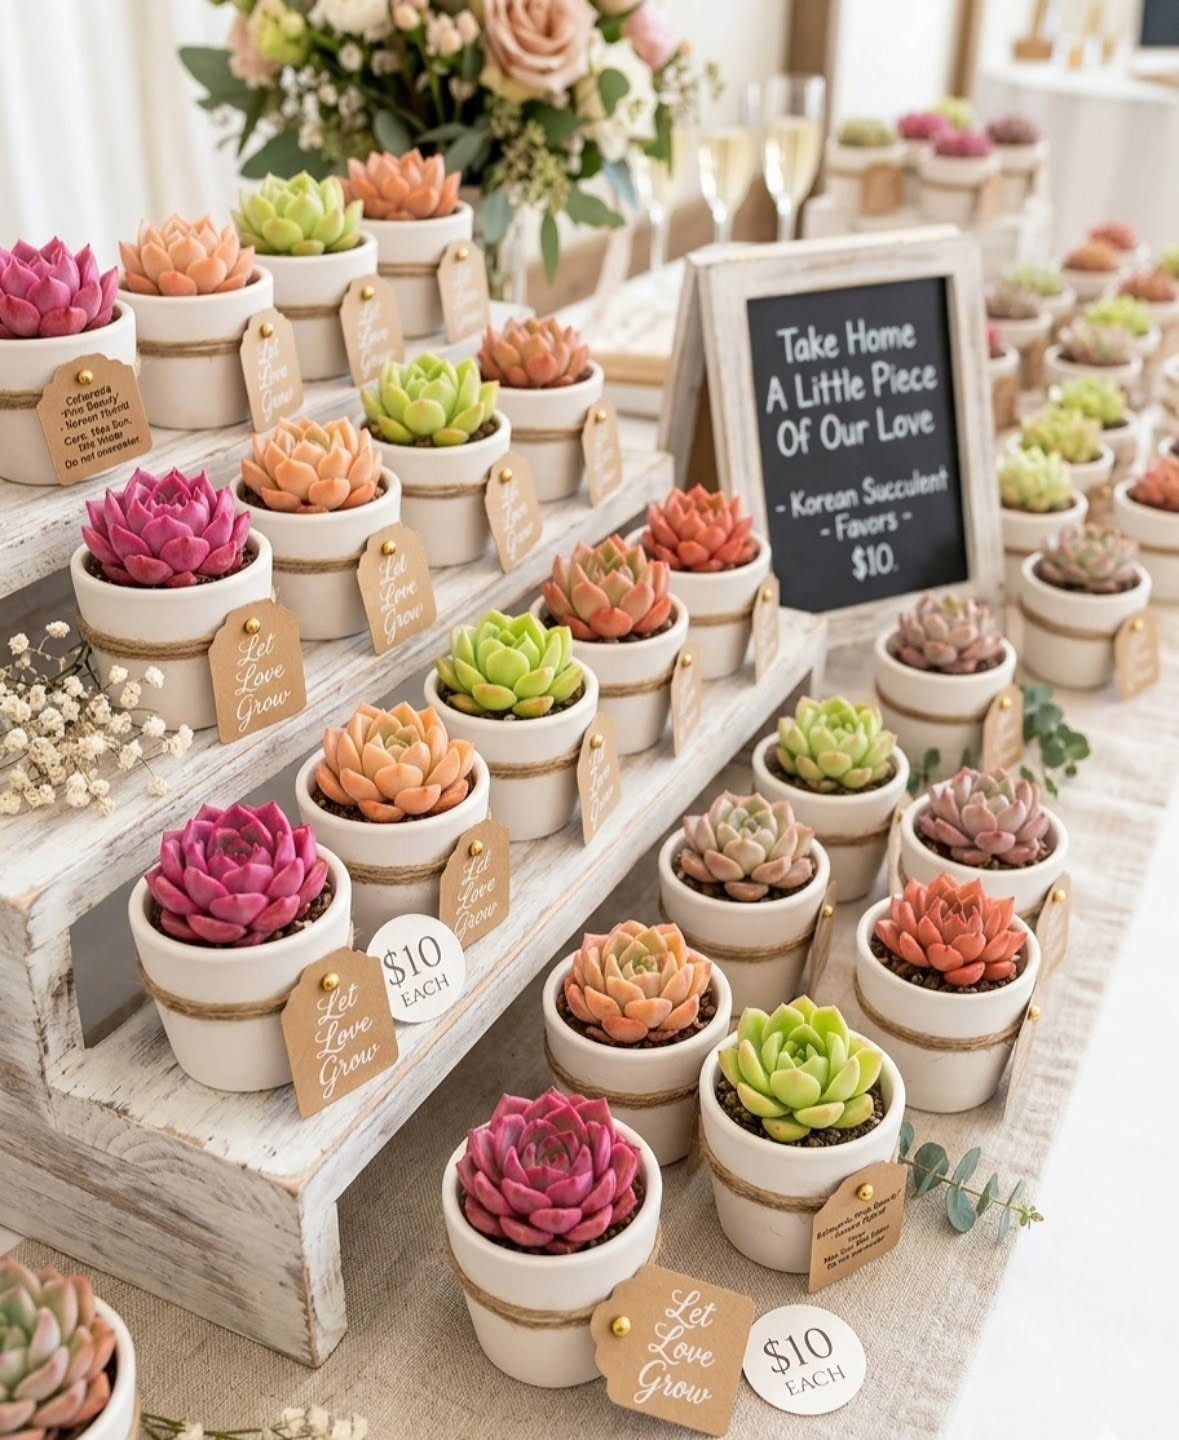
Small succulents in white pots stay cheap to scale up, and a tag with a line like "Let Love Grow" gives them a wedding purpose.
A sign inviting guests to take one home is a useful reminder to work out your per-pot cost before buying in bulk.
Keep the pots uniform and let the plants supply the color.
5. Homemade Jam Jars
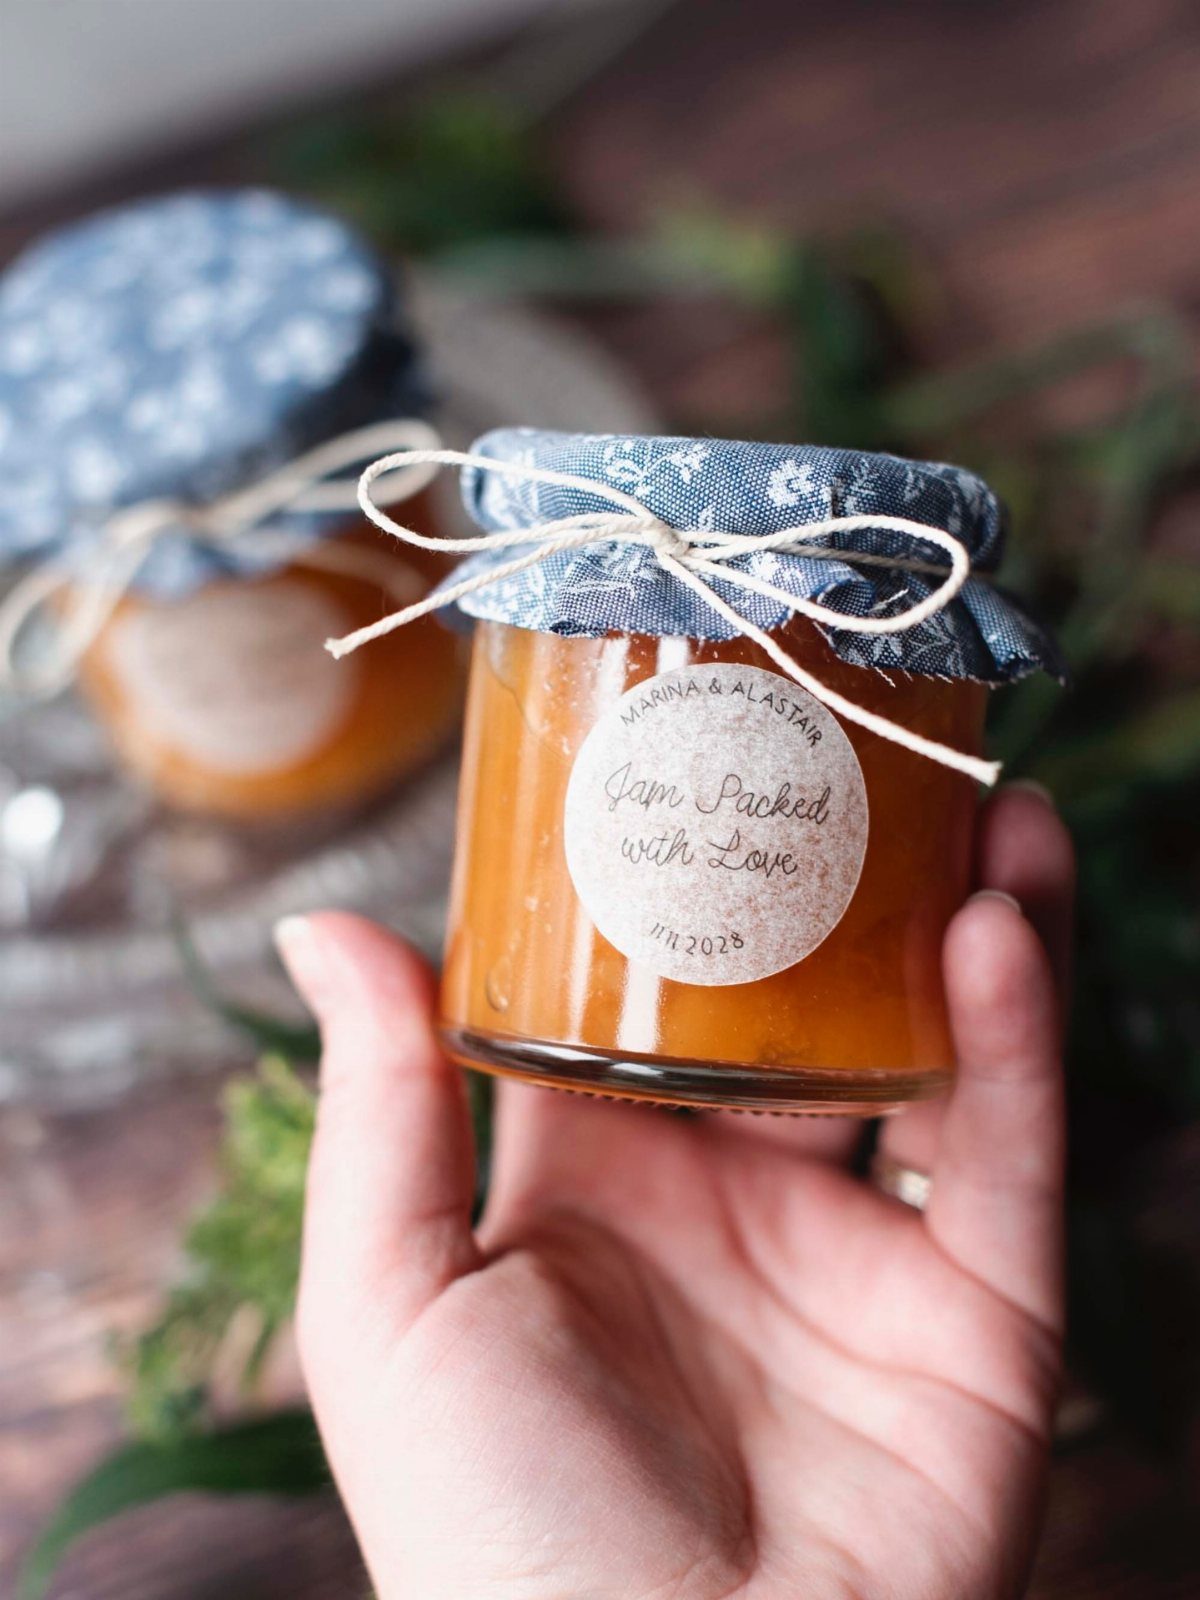
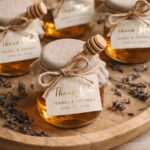
Jam in a small glass jar carries a built-in pun, and "Jam Packed with Love" with names and a date does the job on the label.
Small jars keep costs and cooking time manageable.
Print the labels well ahead so the jars are only waiting on the jam.
6. Matchbox Favors
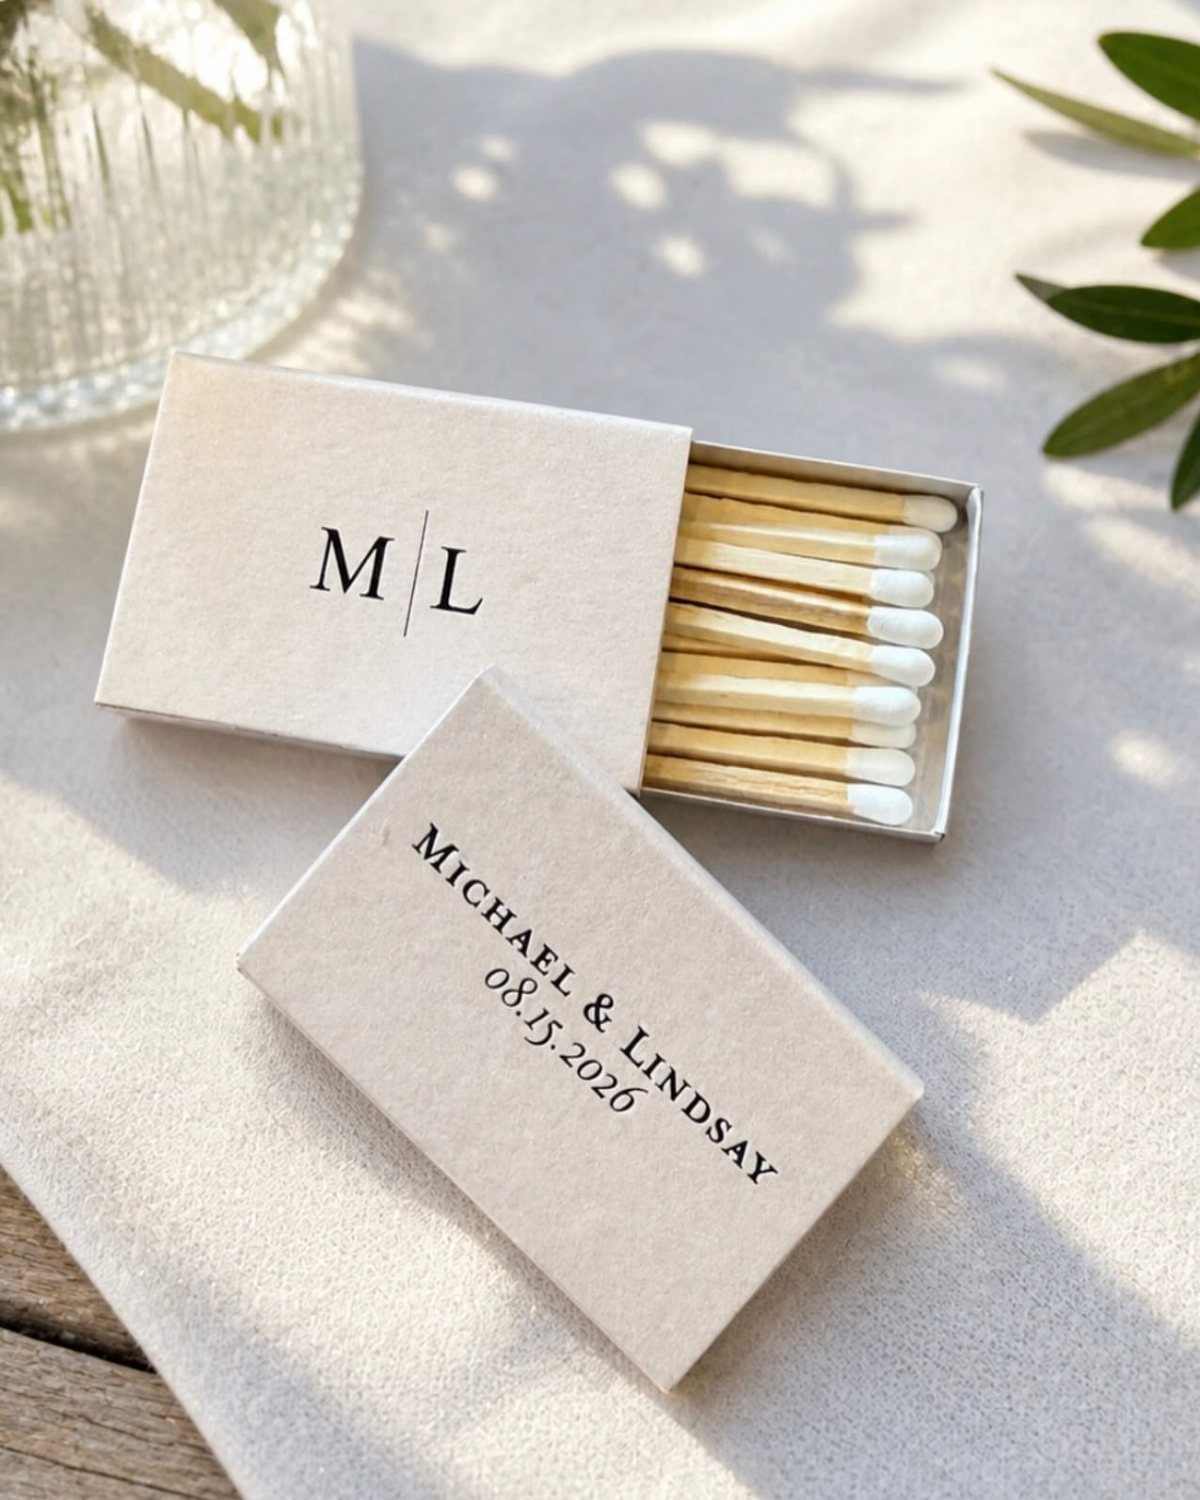
Matches and weddings share a spark, which is the whole joke, and a white matchbox printed with your names and date delivers it quietly. Guests can pocket one without thinking twice.
White boxes suit almost any palette and look good stacked in a bowl or tucked beside each place setting.
Order a sample before the full run to check the print.
7. Decorated Mason Jars
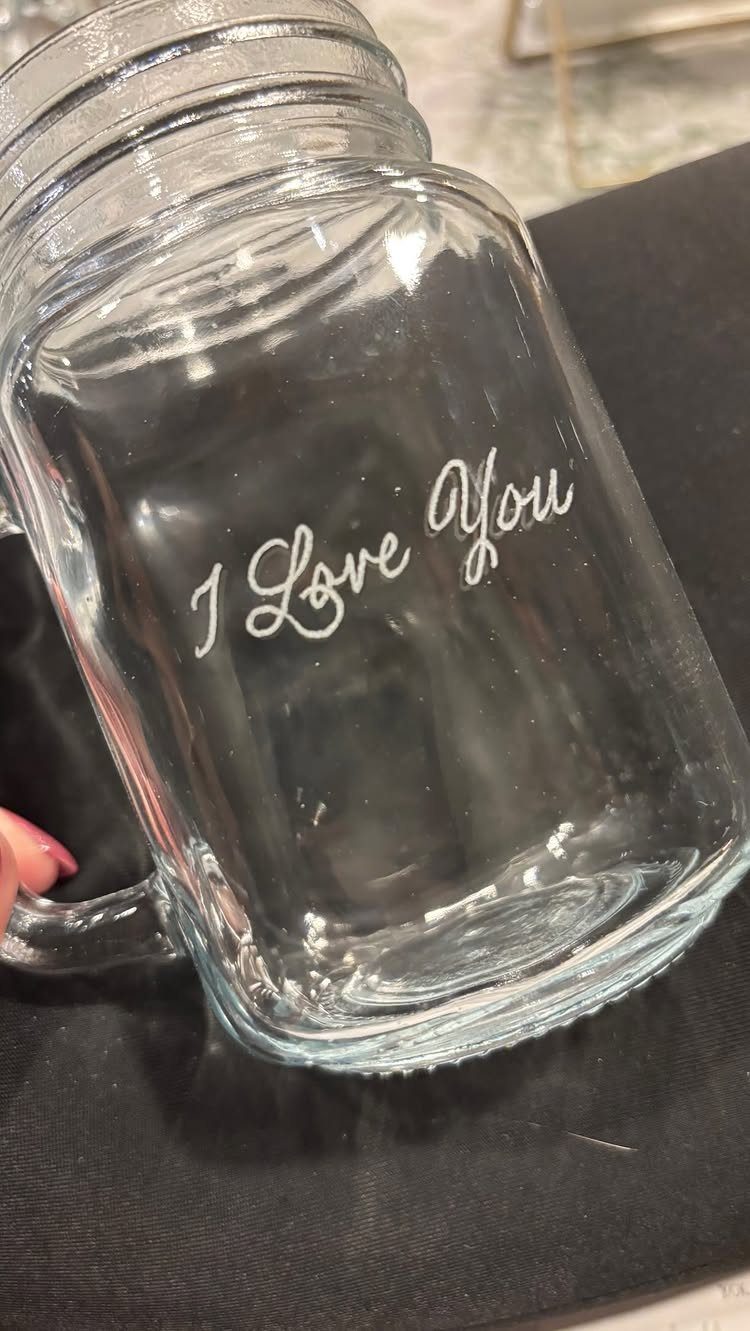
A mason jar with a handle works as a mug, so the favor gets used long after the reception. White cursive on clear glass, like "I Love You," reads cleanly and lets whatever goes inside show.
Hand-lettering with a paint pen is the budget route. Practice on a spare jar first, since glass shows every wobble.
Keep the wording short so the script stays large and easy to read.
8. Infused Olive Oil Bottles
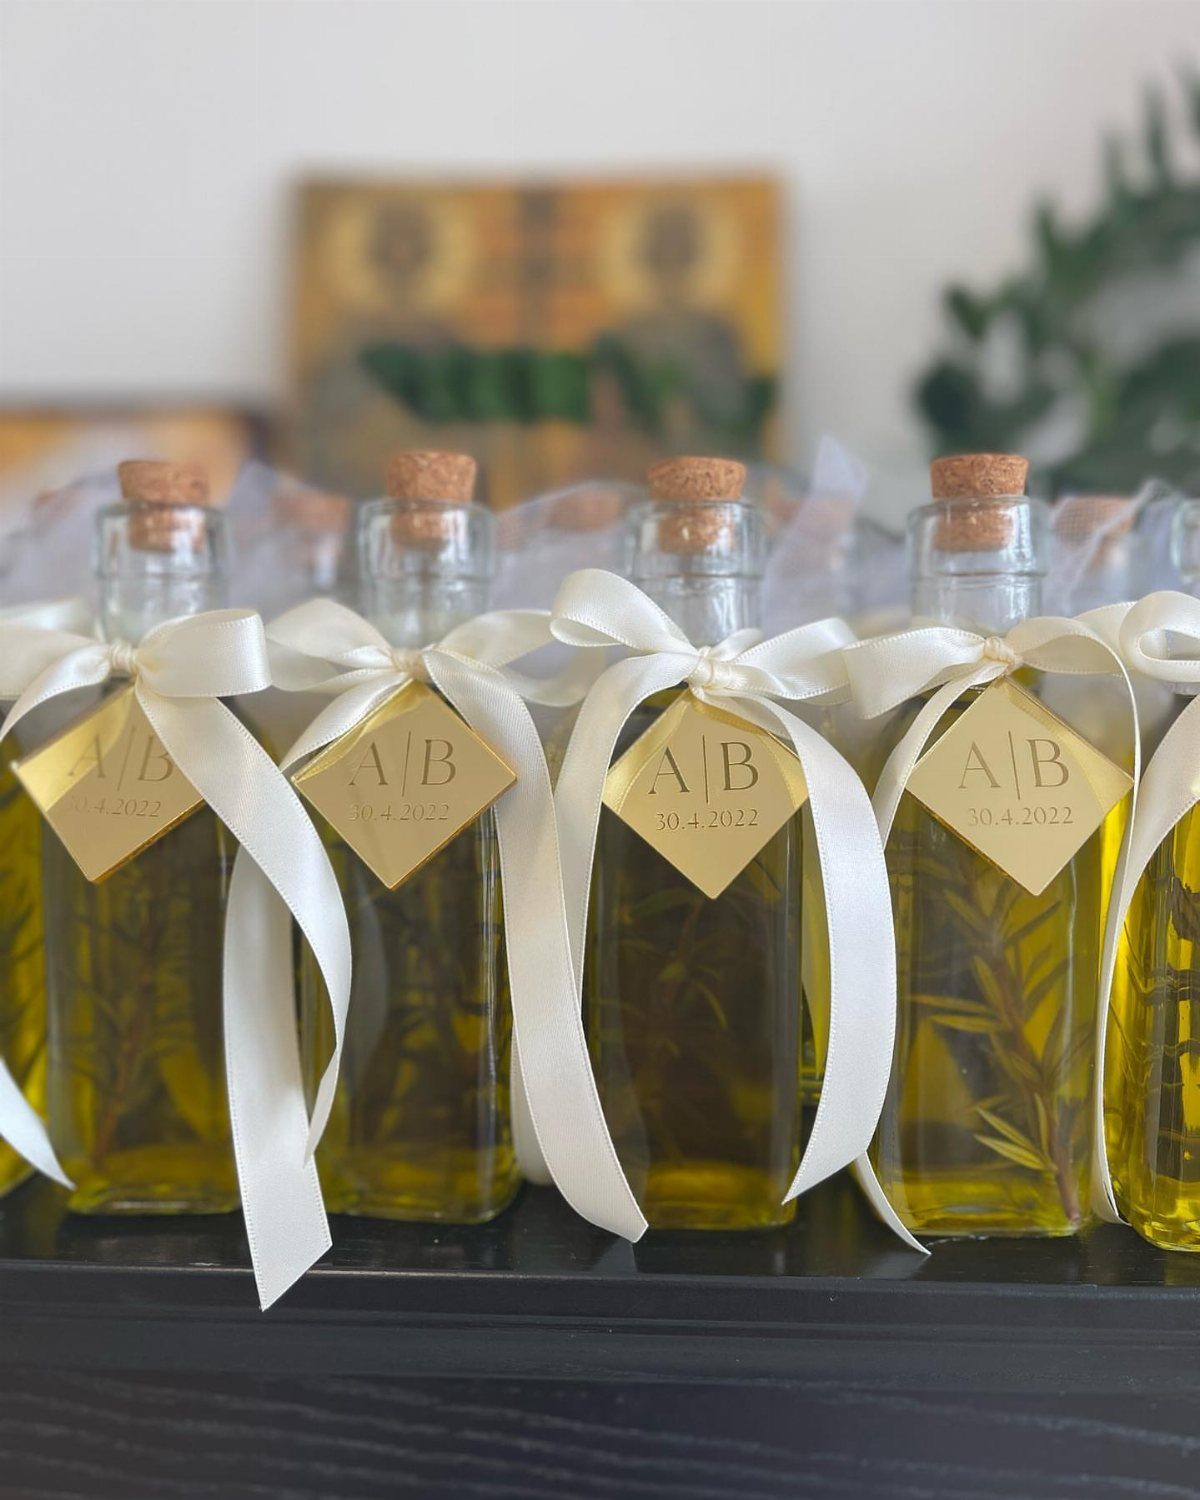
Small bottles with a rosemary sprig inside, a cork stopper, a white ribbon and a gold tag with initials and the wedding date make a favor that looks like a shop gift.
The tag is where the personalizing happens, so print it neatly and tie the ribbon the same way on every bottle.
Corks and ribbons are cheap; the oil is the real cost, so price a bottle before you commit to a count.
Choose one herb and repeat it across all the bottles.
9. Tote Bags
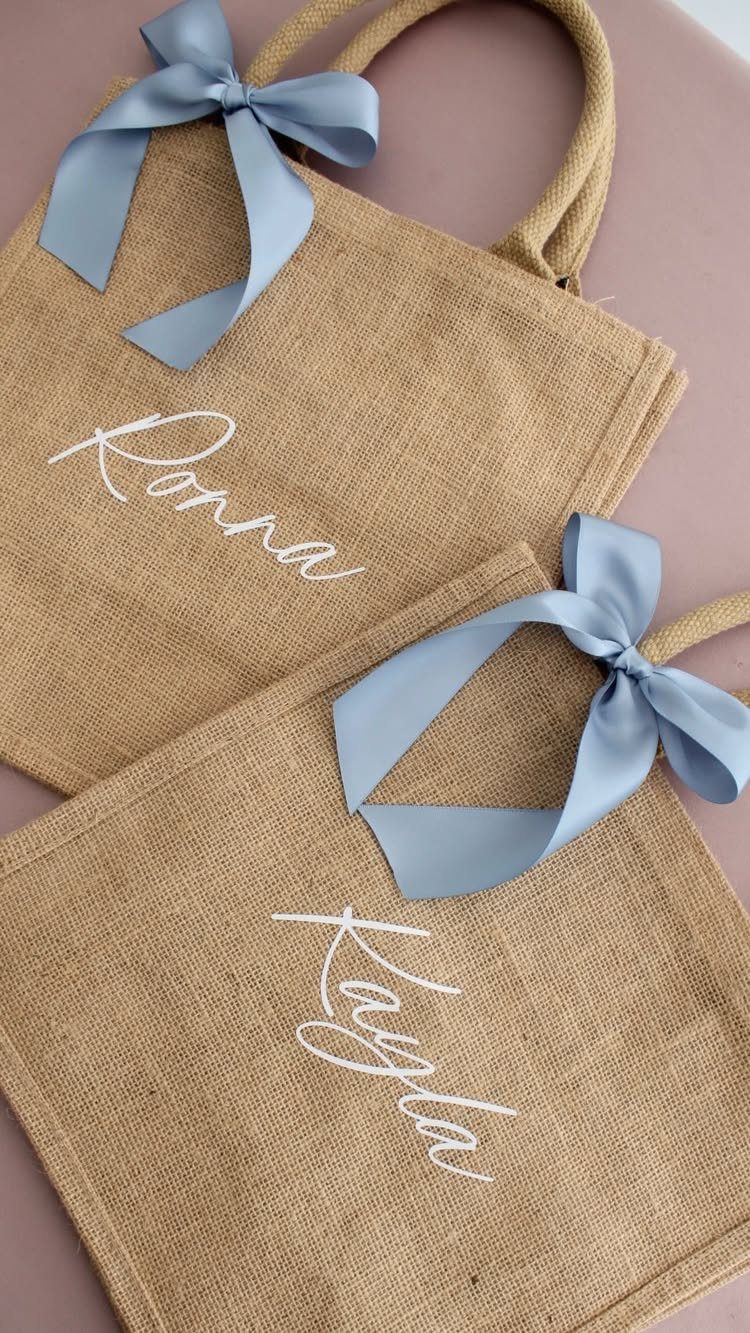
Burlap totes with a name in white cursive double as place cards and favors, which saves you a line in the budget. A light blue bow gives each bag a finishing touch without extra work.
Guests will actually carry these, so plain and sturdy beats fussy. Order a few extra for the inevitable additions, and write names with fabric paint or iron-on lettering after a test on scrap burlap.
Add a small treat inside if you like.
10. Hot Cocoa Kit
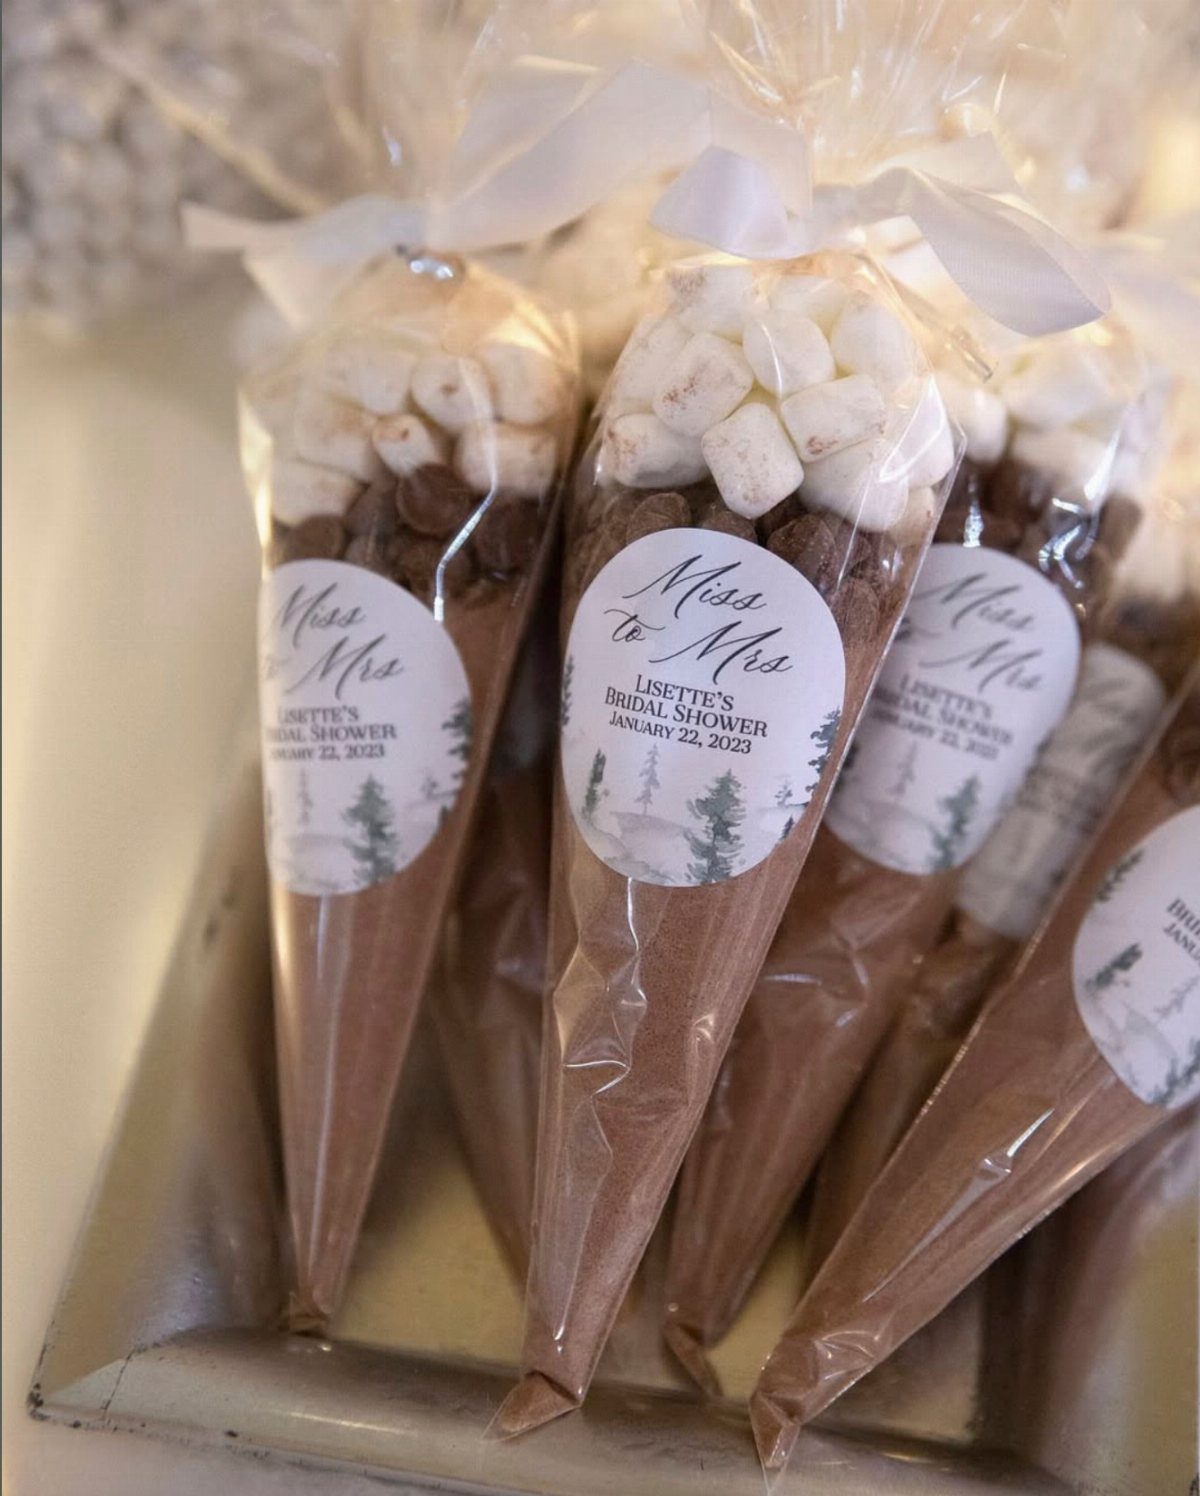
Fill clear cone bags with cocoa mix and marshmallows, tie them with white ribbon, and you have a winter favor that costs little and looks tidy.
A label with your names, the date and a pine tree graphic ties it to the season.
Fill the cones shortly before the event so the marshmallows stay fresh. Layer the mix first and put the marshmallows on top, where they show.
For cold-weather weddings, this is the favor I would pick.
11. Morning After Kit
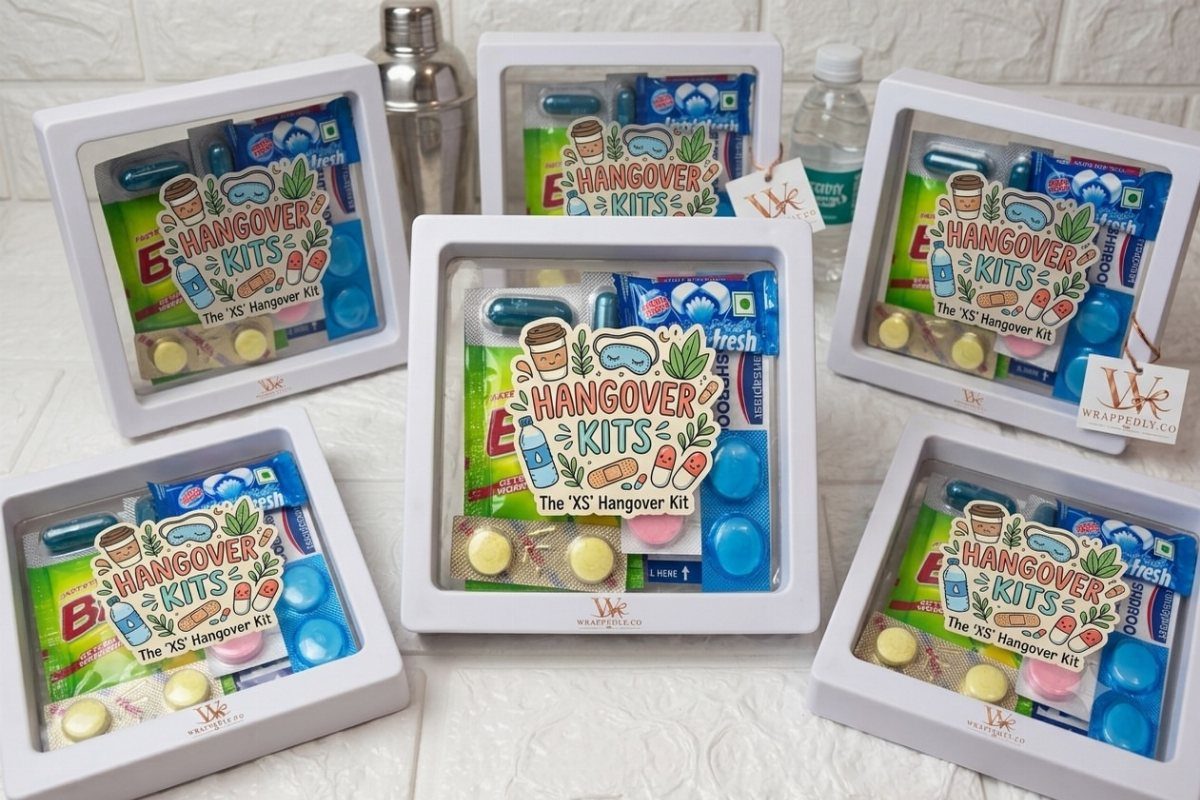
A white box labeled as a hangover kit, with pills, an eye mask and mints inside, is the favor overnight guests will thank you for the next morning.
Keep the box small and the label funny, and include a few packets of whatever you would want yourself. Add a water bottle at checkout if the budget allows.
Pass these out at the end of the night, not at the table, so they do not get left behind.
Benefits of DIY Favors
Making favors yourself gives you the one thing a store order can’t: the work of your own hands, handed to each guest as a thank-you.
It also tends to cost less per guest, and you decide the materials, the look and the size of the run.
Crafting has a side benefit during a stressful stretch. Focusing on small details is a real stress reliever, and a tray of half-finished favors is a decent distraction from the guests who still haven’t sent an RSVP.
Pick a project you already enjoy. If the idea of making 100 of anything sounds like a chore, buy that one and put your handmade effort somewhere it counts.
Planning and Preparation Tips
Start with the guest count, because it sets everything else. Count one favor per person, or one per couple or household if you want to trim the total, and decide that before you buy a single supply.
Then work backward from the wedding date on your planning timeline. Aim to have every favor finished at least 4 or 5 days before the wedding, which leaves a buffer for a broken batch or a missing piece.
Large guest lists are still doable. Set up an assembly line, with one step per station, and do the repetitive work in batches rather than one favor at a time.
Pack the finished favors in labeled boxes so day-of helpers can set them out without asking you anything.
Involvement of Partner
Hand your partner a job early. Favors split easily into steps, so one of you can cut, print or fill while the other ties, stamps or packs.
An evening with music and a pile of supplies is a small break from the seating charts and vendor emails. It also gives you a shared project that ends in something guests actually hold.
Assign tasks by temperament. The detail-minded person takes the lettering or labels, and the one who likes repetition takes the assembly line.
Keep sessions short, an hour or two, so the project stays fun rather than turning into one more item on the to-do list.
Frequently Asked Questions
What are some easy DIY wedding favors I can make?
For a first project, I’d pick candles, cookies or succulents: a soy candle with a ribbon and tag, a sugar cookie with simple icing, or a small potted plant each need only basic supplies and a few hours.
Each one needs only a few cheap supplies, and a printed tag or icing lettering with your names and date makes it feel personal.
Try a test candle or a practice batch of cookies before you commit to the full count.
How far ahead should I finish DIY wedding favors?
Aim to have every favor done at least 4 or 5 days before the wedding.
5 days of slack gives you room to remake a ruined batch or track down a part that never arrived. Fresh items, like marshmallow kits or cookies, are best assembled closer to the date.